
How to Steward Your Landscaping Investment (So Every Dollar Actually Works)
Most people don’t waste money on their landscaping because they have “bad taste.” They waste money because they invest in the wrong order.
They fall in love with a patio set before they’ve created privacy.
They install a huge hardscape before they know where they actually like sitting.
They buy plants without understanding circulation, light, or how they want their yard to feel.
A great garden isn’t built in one weekend. It’s layered and tested over time.
When you steward your landscaping investment the right way, you get something even better than a “pretty backyard”: you get an outdoor space that functions like an extension of your home—private, calming, and easy to live in.
Here’s the order I recommend investing in your landscape—one dollar at a time.
Dollar 1: Invest in Privacy (Because You Can’t Relax Without It)
The perfect garden isn’t about trends.
It’s about privacy.
You can’t truly exhale in your own yard if you feel watched. Privacy is what turns an outdoor space into an oasis. It lets you relax, host friends, drink coffee barefoot, and let your kids play without feeling like you’re on display.
That’s why Dollar 1 is always privacy.
Proven ways to make your yard feel private
1) A wood fence + gates where it matters most
A solid wood fence sets the tone instantly. If your side yard is open, add side yard gates—it’s a small detail that makes your whole yard feel secure and intentional.
2) A hedge that defines your property line
One of the best long-term investments you can make is a hedge that creates a green wall.
My go-to privacy hedge options:
Laurel
Yew
A laurel or yew hedge lining the top of the front yard all the way to the property line looks clean, classic, and high-end—and it gets better every year as it fills in.
3) Make an existing fence taller (without rebuilding it)
If you already have a fence but it’s too short, you don’t always need to replace it.
One of the most cost-effective upgrades:
Add cattle fencing above the fence line to extend the height
Train vines like:
Jasmine
Honeysuckle
This creates instant vertical privacy and a lush living screen.
4) Pleached trees or hedges for elevated privacy
Pleaching is when shrubs/trees are trained into a higher, structured hedge—perfect for suburban lots where neighbors look down from windows or decks.
Beautiful options for pleaching:
Laurels
Hornbeams
Beech trees
It’s one of the most timeless “designer garden” tricks and it changes everything.
5) Use trellises to block window-to-window views
Sometimes the issue isn’t your whole yard—it’s one direct sightline.
Like a neighbor’s kitchen window looking into your patio.
The fix can be simple:
Install a trellis where the viewline hits
Add large planters with jasmine vines to soften and shield the space
This kind of targeted privacy is extremely effective—and often cheaper than large-scale fencing.
✅ Bottom line: If you only spend money on one thing in your garden first, spend it on privacy. Everything else will feel better once you do.
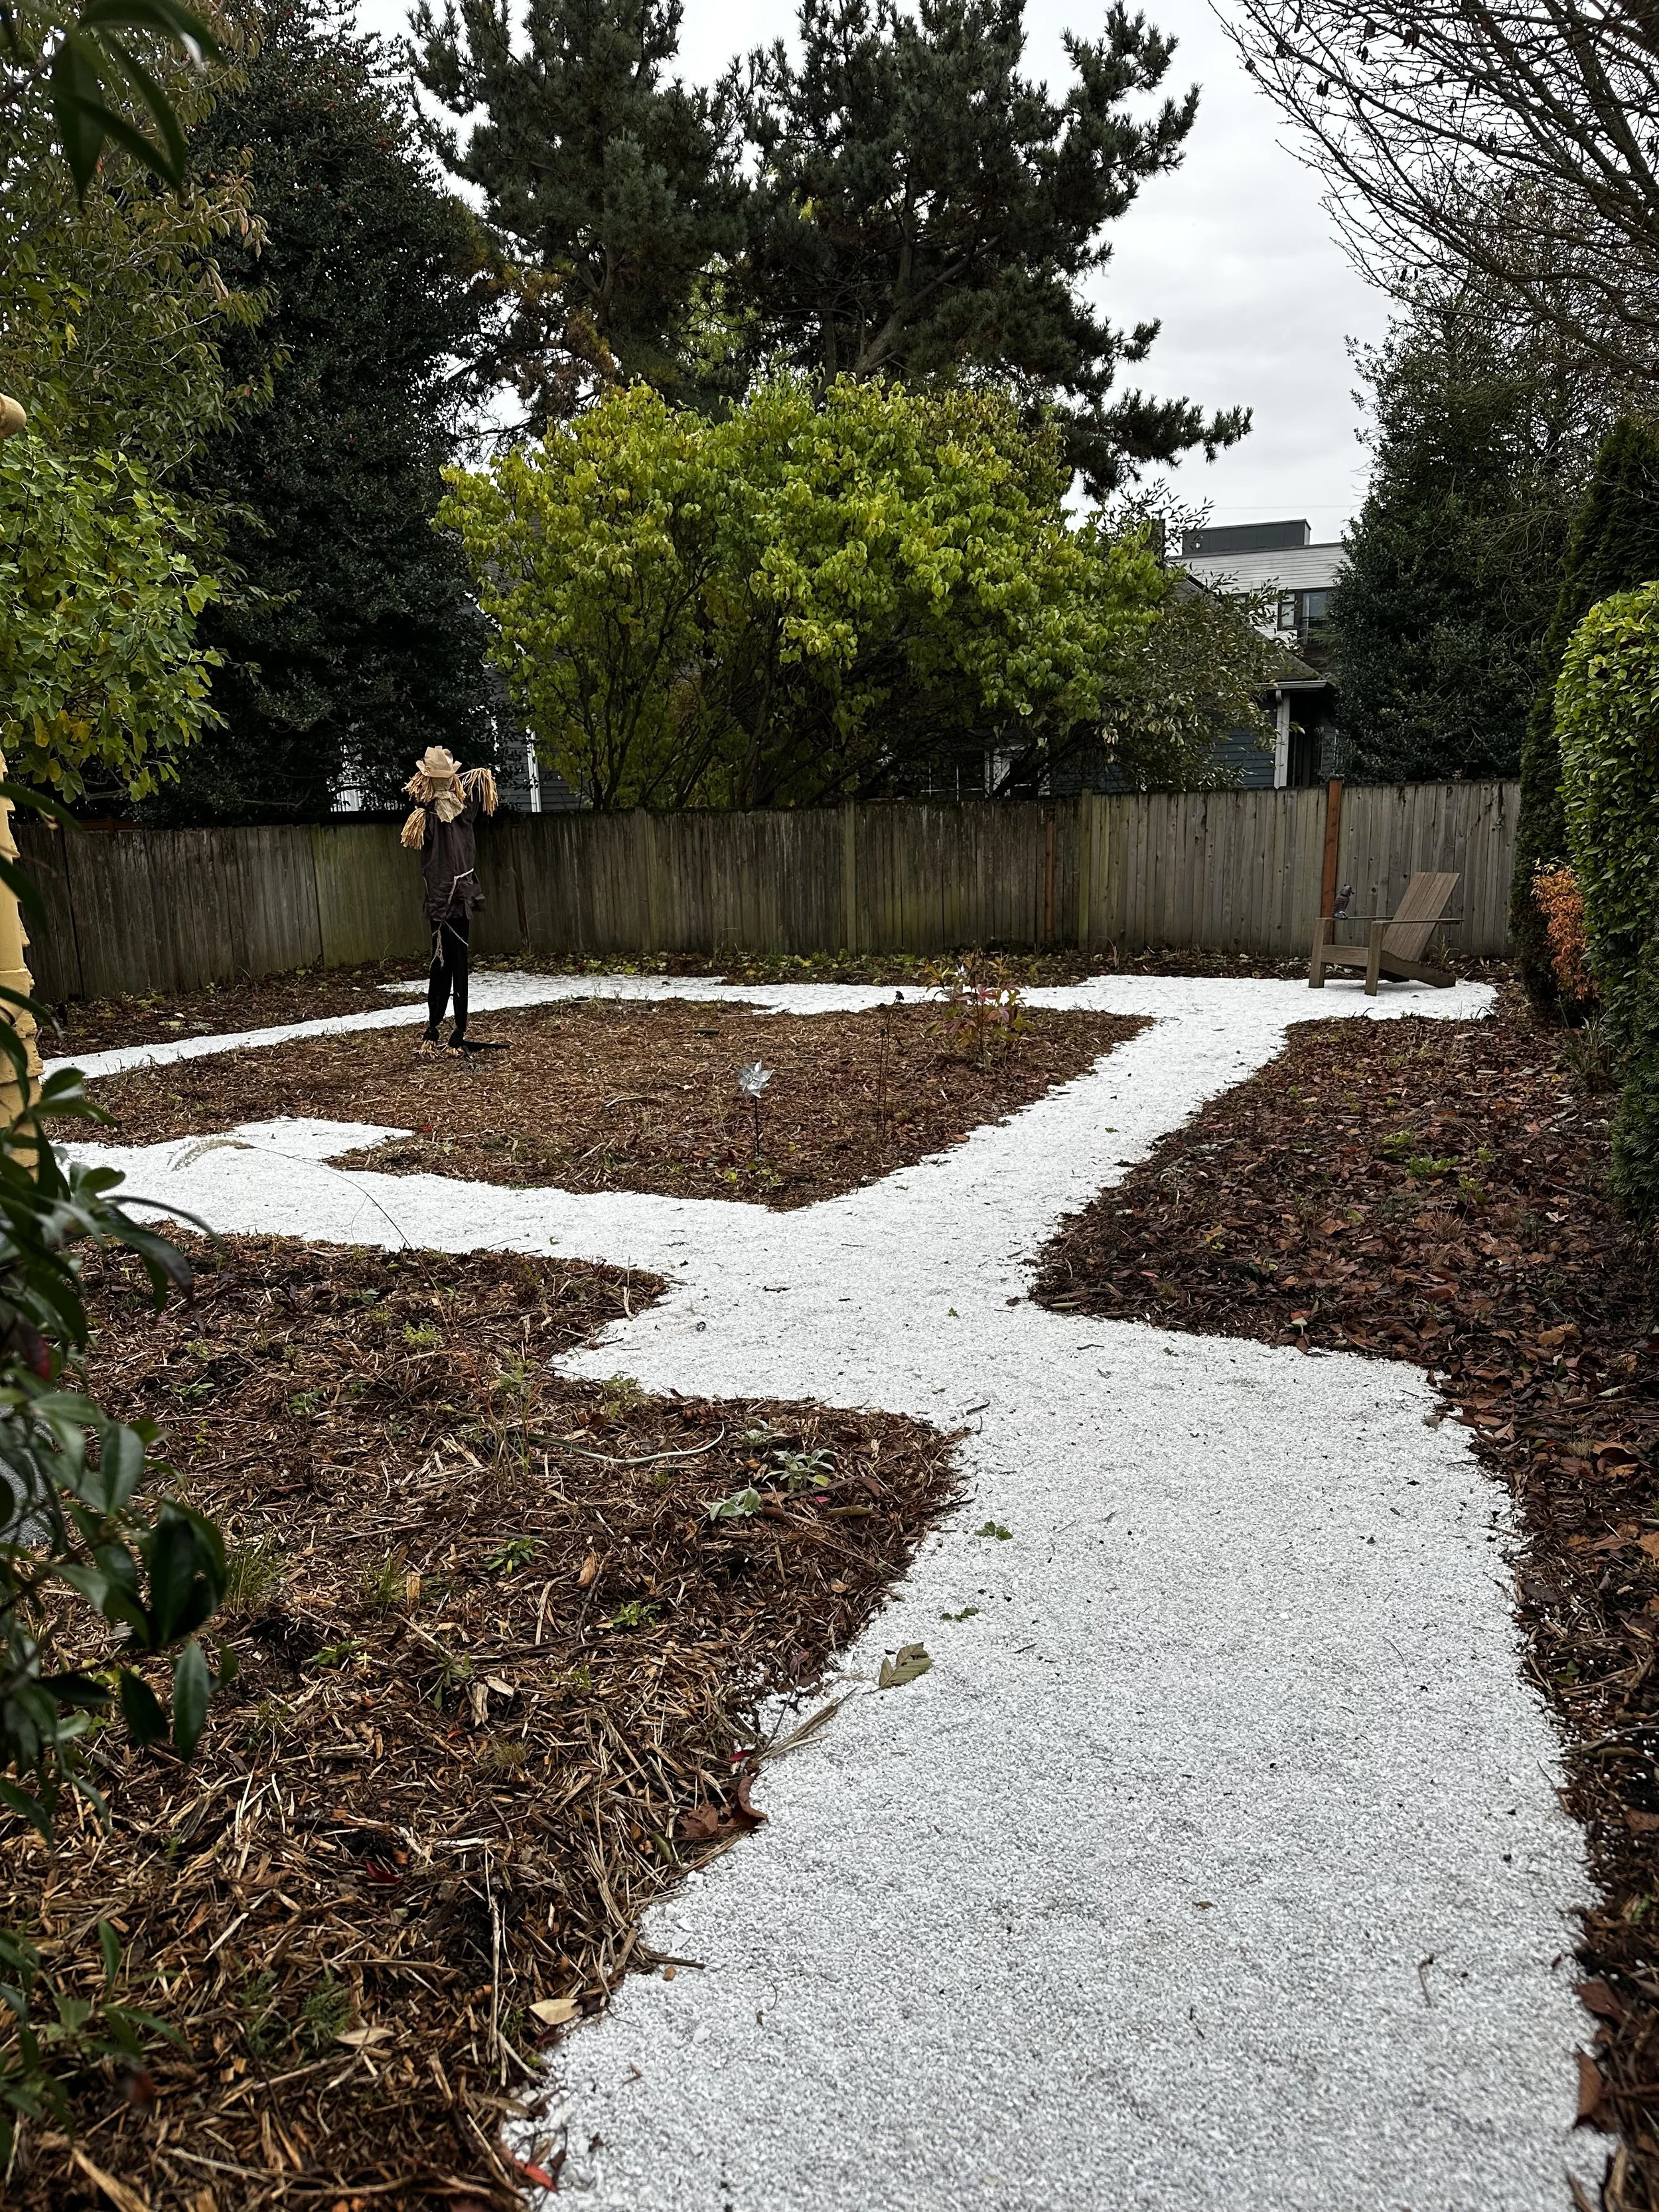
Dollar 2: Create a Way to Actually Use the Yard (Circulation + Garden Rooms)
After privacy, the next biggest upgrade isn’t plants.
It’s getting out of the house and into the garden.
Most yards feel unused because there’s no safe, inviting transition from inside to outside—and no reason to walk deeper into the property.
So I start here:
A breezeway, porch, or safe step-out zone
Then gravel pathways
Leading to separate garden rooms with the best views
The simple layout that changes everything
I usually create two main “rooms”:
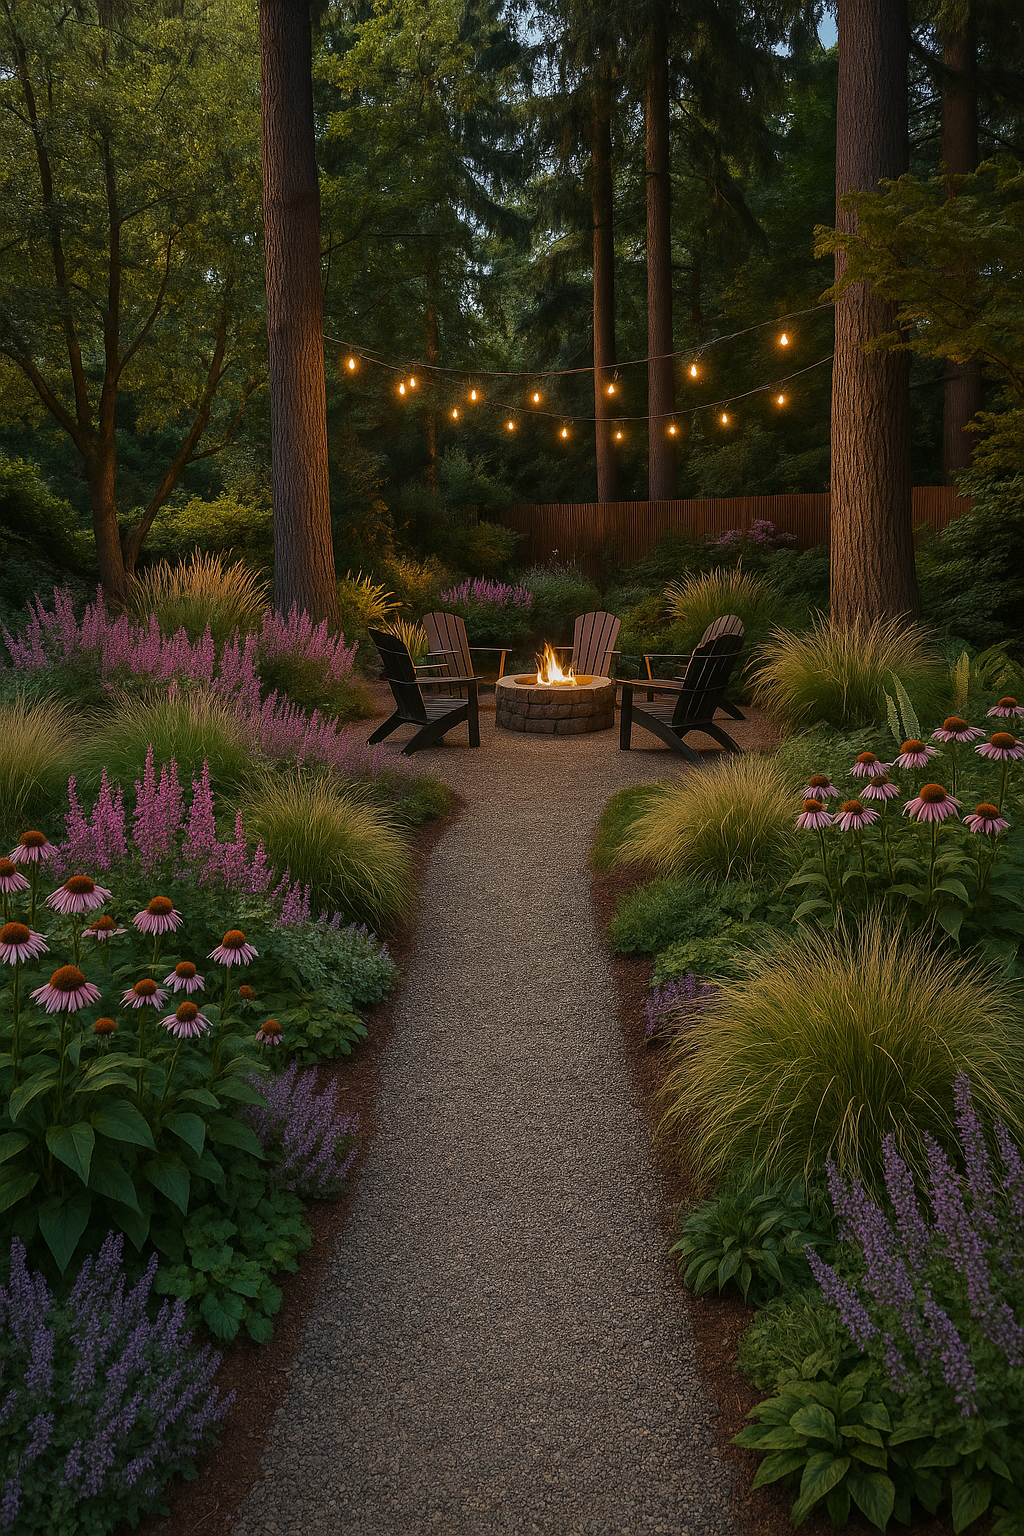
A sitting room (for coffee, reading, relaxing)
An eating room (for dining, grilling, hosting)
I love gravel floors for garden rooms because they are:
Budget friendly
Fast to install
Easy to adjust
Low commitment
And here’s the most important part:
Gravel lets you test your garden.
You can explore how the sun hits. You can see what feels comfortable. You can learn how your family naturally moves through the yard.
If you later realize the seating area should be 8 feet to the left—no problem. You’re not stuck.
✅ Bottom line: Before you spend big money, create the path. Create the flow. Create the reason you’ll actually use the space.
Dollar 3: Skip What You Don’t Need (And Yes, I Mean Lawn)
This one is controversial, so let’s be honest:
If you have kids or a dog, you might absolutely need lawn, and that’s perfectly okay.
But a lot of homeowners install lawn because they feel like they’re “supposed to”—not because it makes sense for their lifestyle or property.

If you want lawn, do it strategically
Instead of making lawn the default centerpiece, treat it like a functional zone.
The best lawns are:
A defined rectangle or square
Flat and intentional
Designed for play
It doesn’t need to be the center of your yard. It can go:
On the side
In the back corner
In the front
Wherever the sun and drainage make the most sense
We can figure out:
Irrigation
Maintenance
Sunlight
Drainage
…when we’re planning the whole landscape.
✅ Bottom line: Lawn is not a requirement. If you need it, keep it. If you don’t—skip it and free up budget for things that actually change how your yard feels.
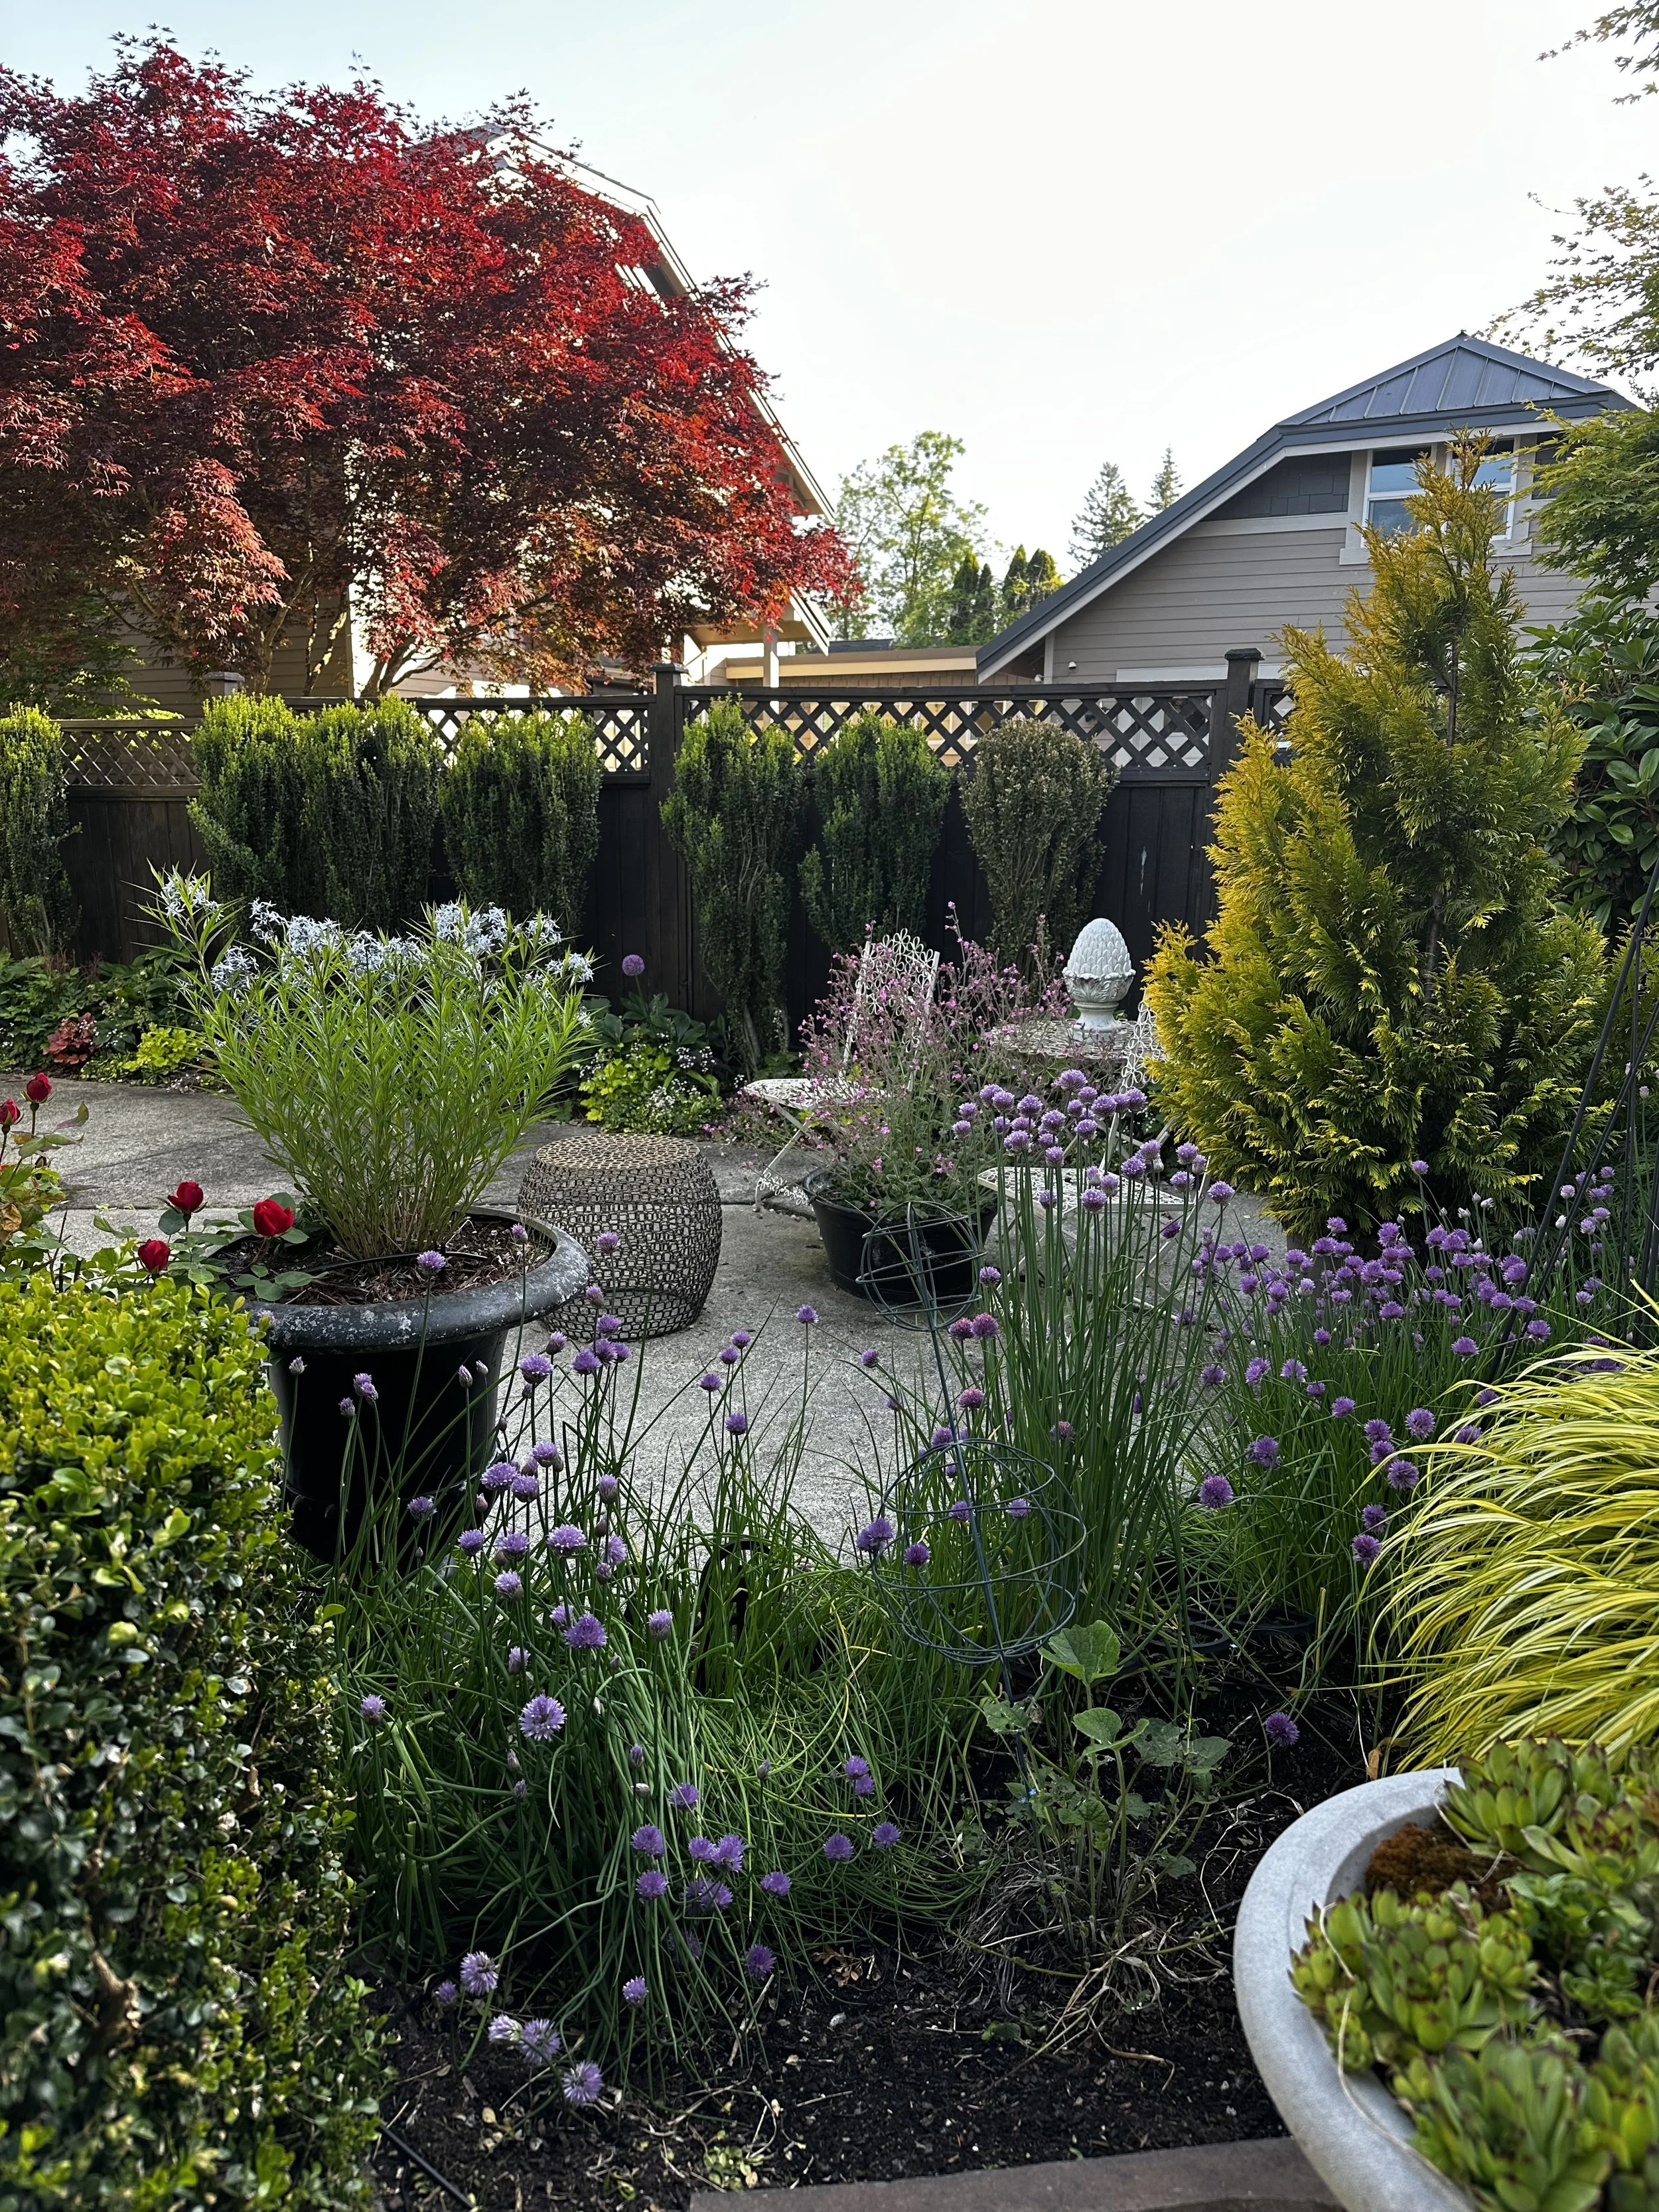
Dollar 4: Plants (Layered the Right Way)
Plants are the part everyone wants to jump to first—and I get it.
But plants are most effective when they support privacy, circulation, and structure.
When we plant, we aim for zero exposed ground and we use three layers so the garden looks full, intentional, and stays healthy:
1) Structural Layer (the bones)
These are your anchors:
Trees
Shrubs
Vines
Structure gives your garden height, shape, and year-round presence.
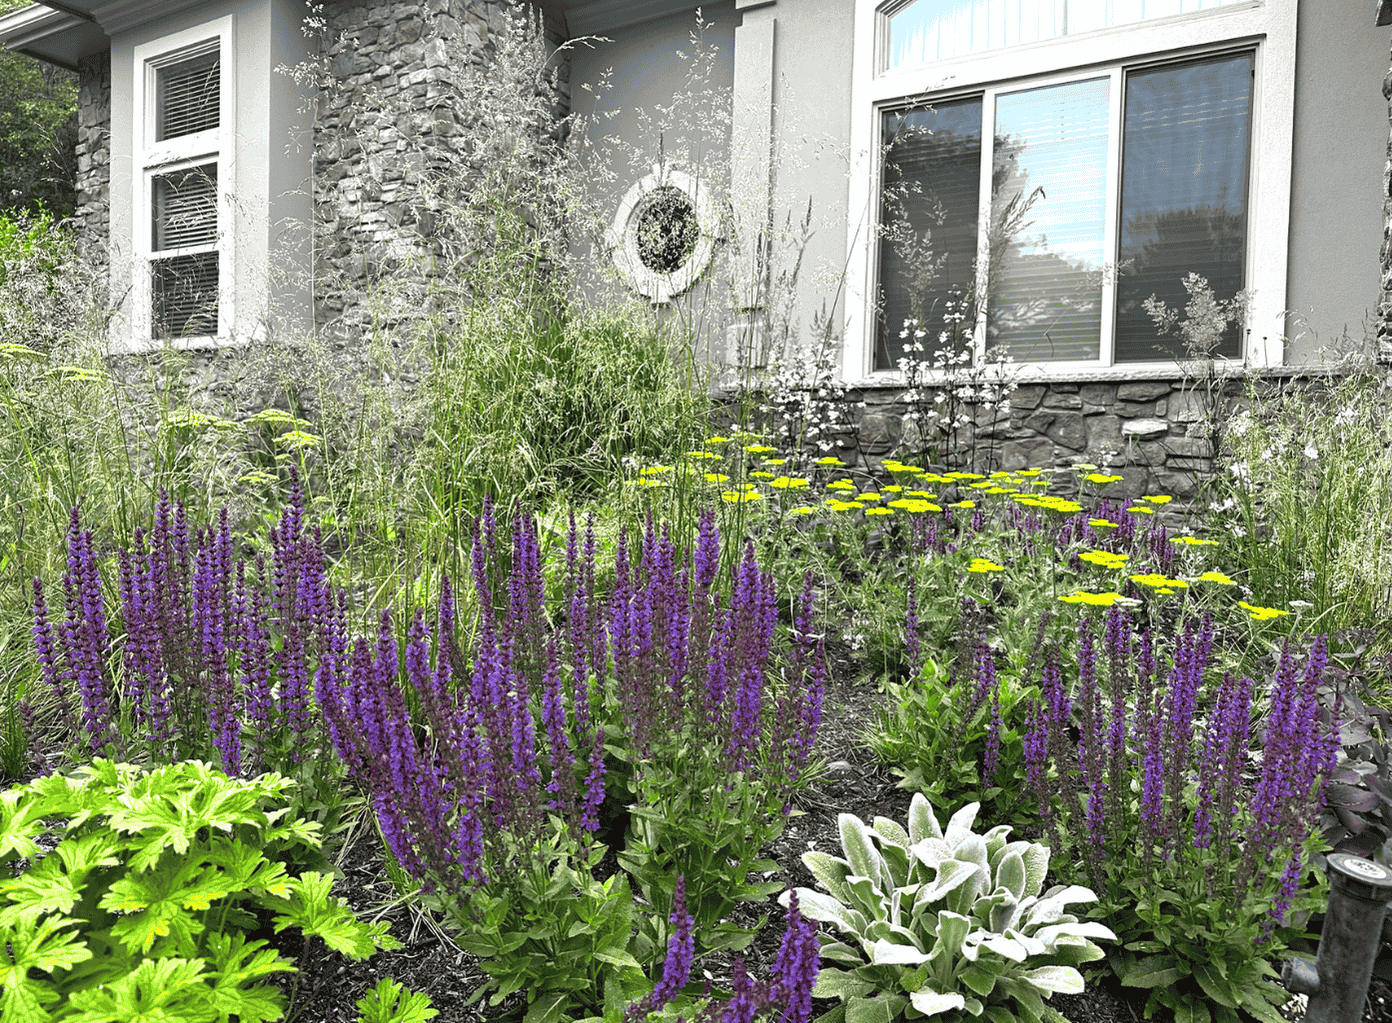
2) Seasonal Layer (the jewelry)
This is where the magic happens:
Bulbs
Perennials
Spring, summer, late-summer bloomers
Seasonal plants keep the garden changing and alive.
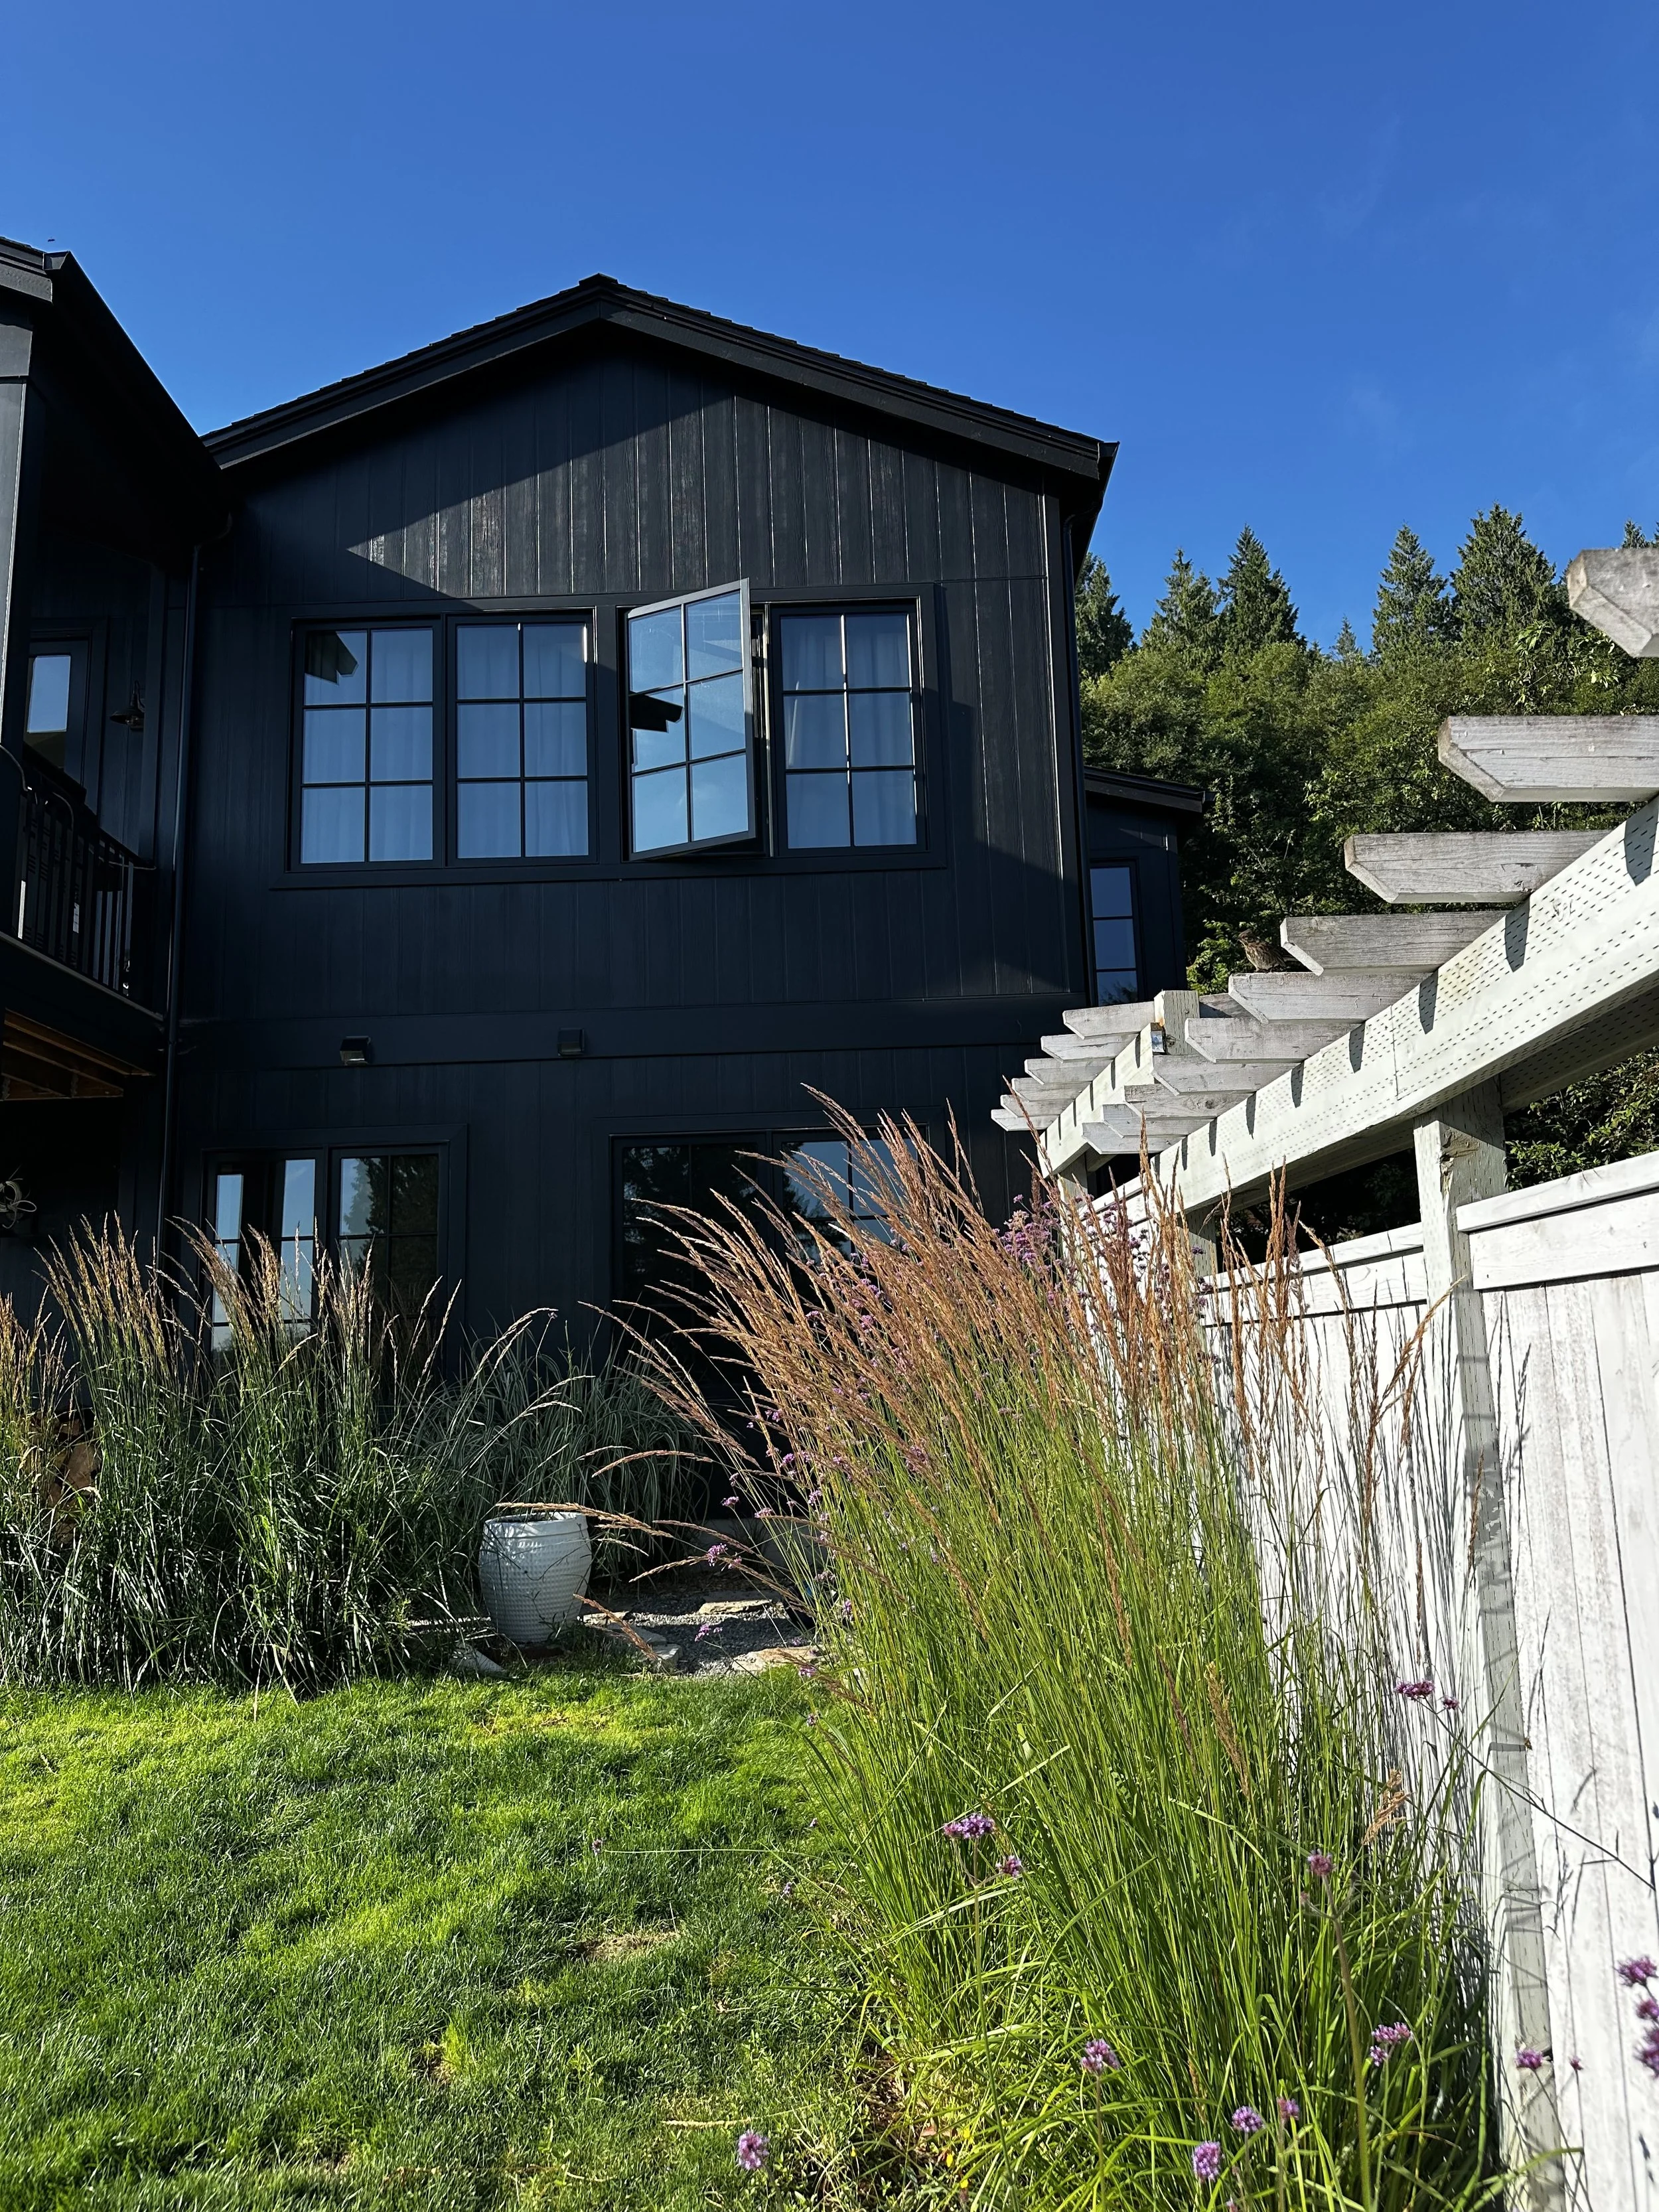
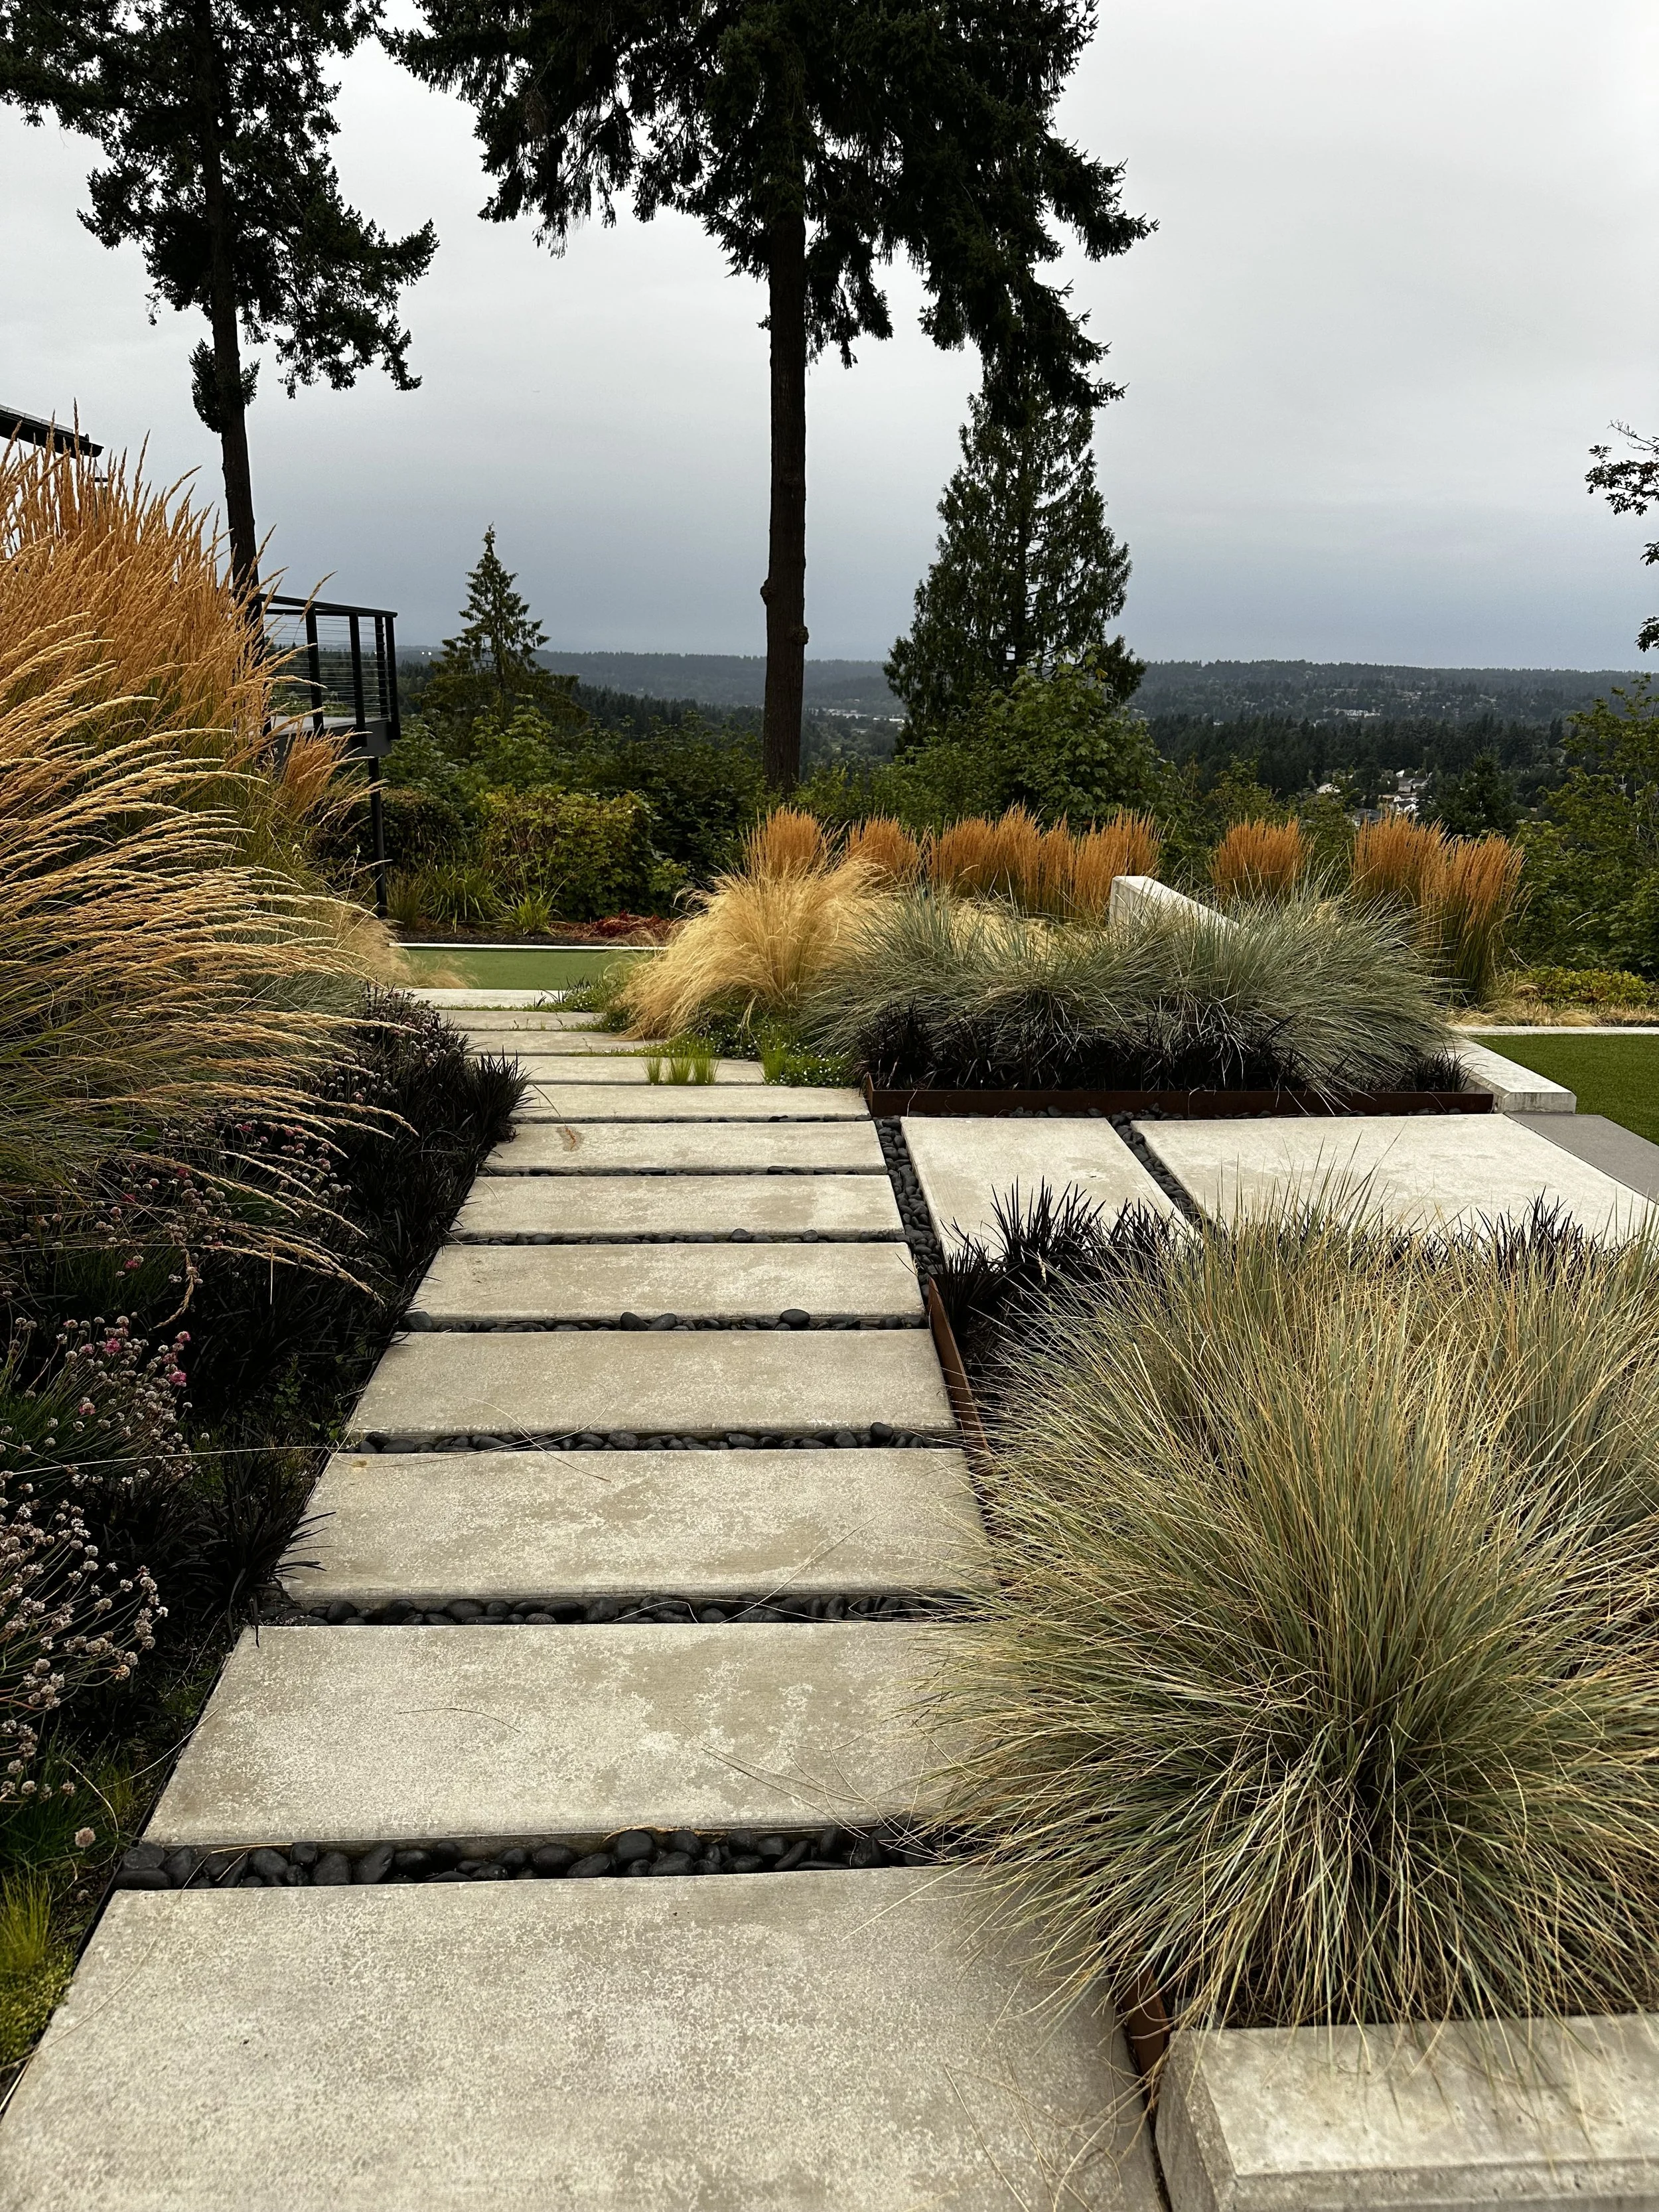
3) Groundcover Layer (the glue)

For me, this is usually:
Ornamental grasses
Grasses knit everything together, cover soil, soften edges, and make the garden feel naturalistic and calm.
The goal is always to draw your eye:
Up
Across
Through the property
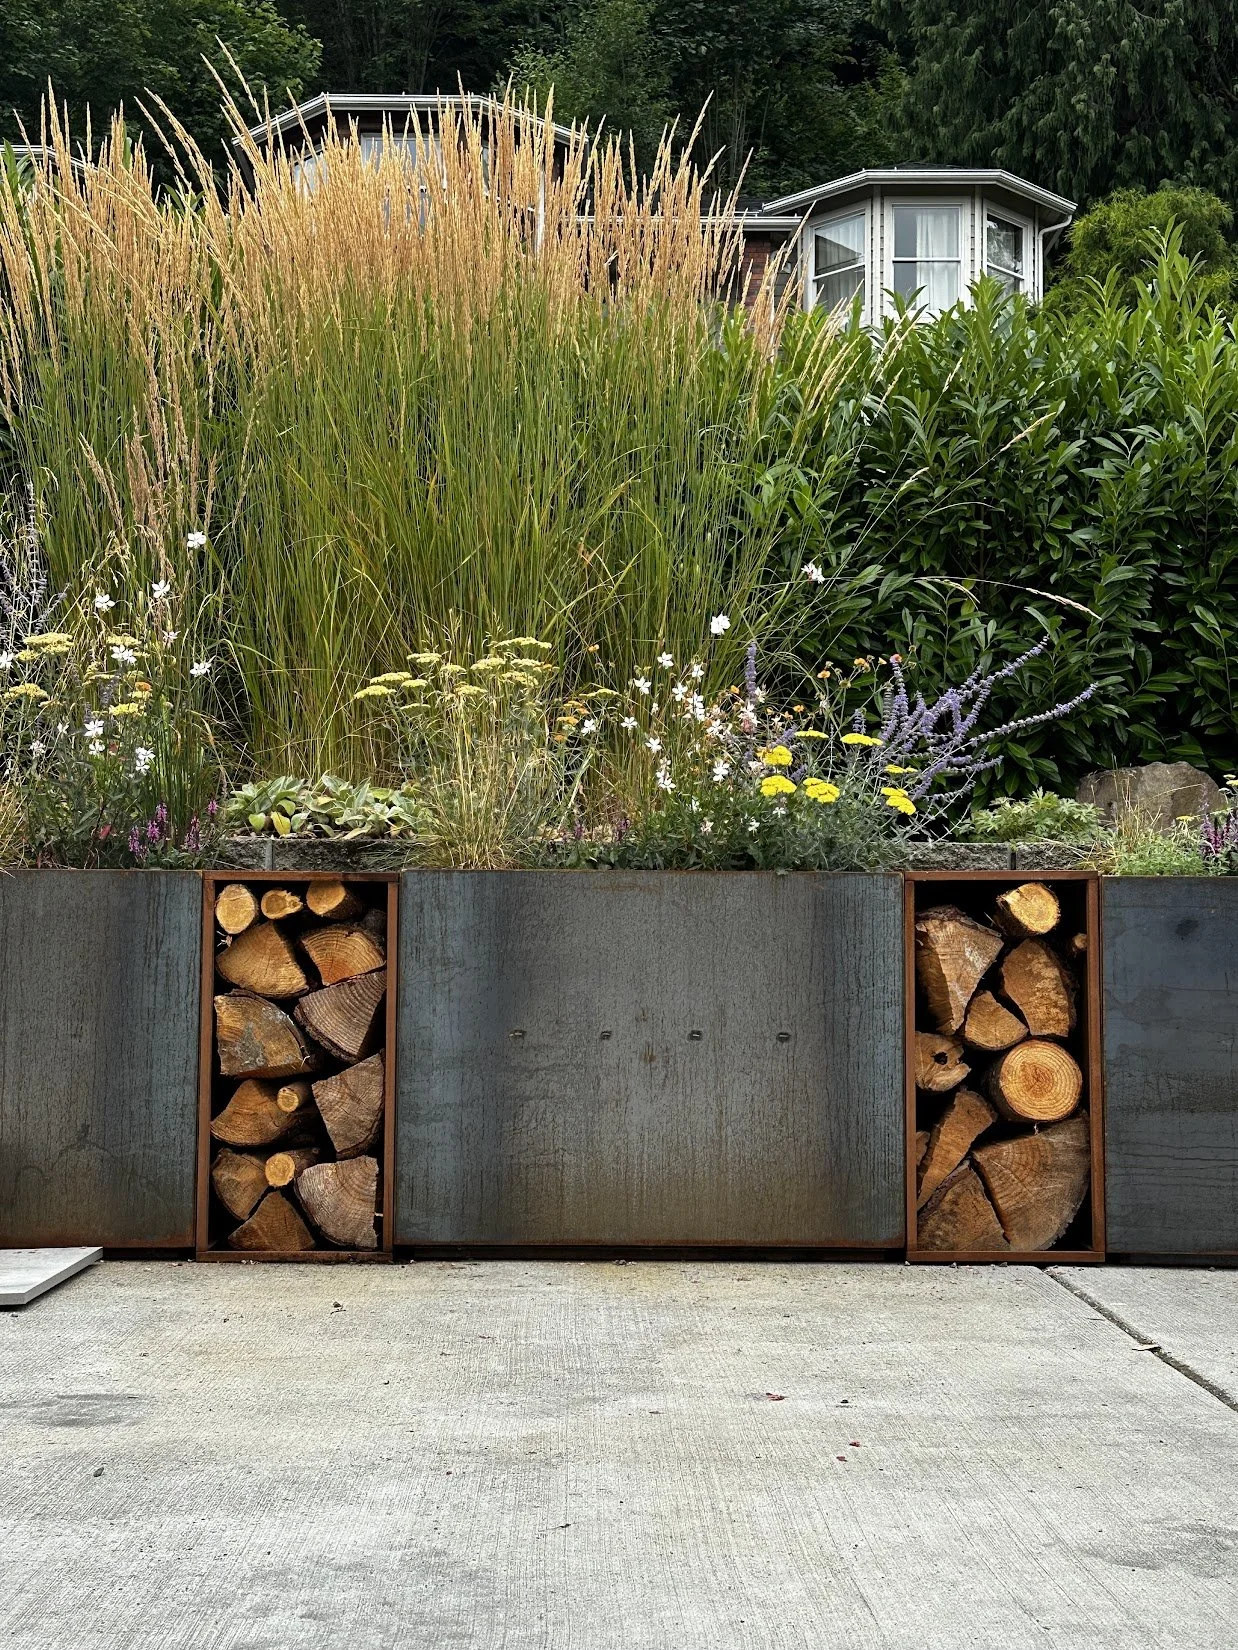
Sometimes that includes taller edging or small retaining features to:
Lift garden beds
Hold soil in
Create definition
✅ Bottom line: Plants go in once the space makes sense—then they flourish, grow, and start paying you back year after year.
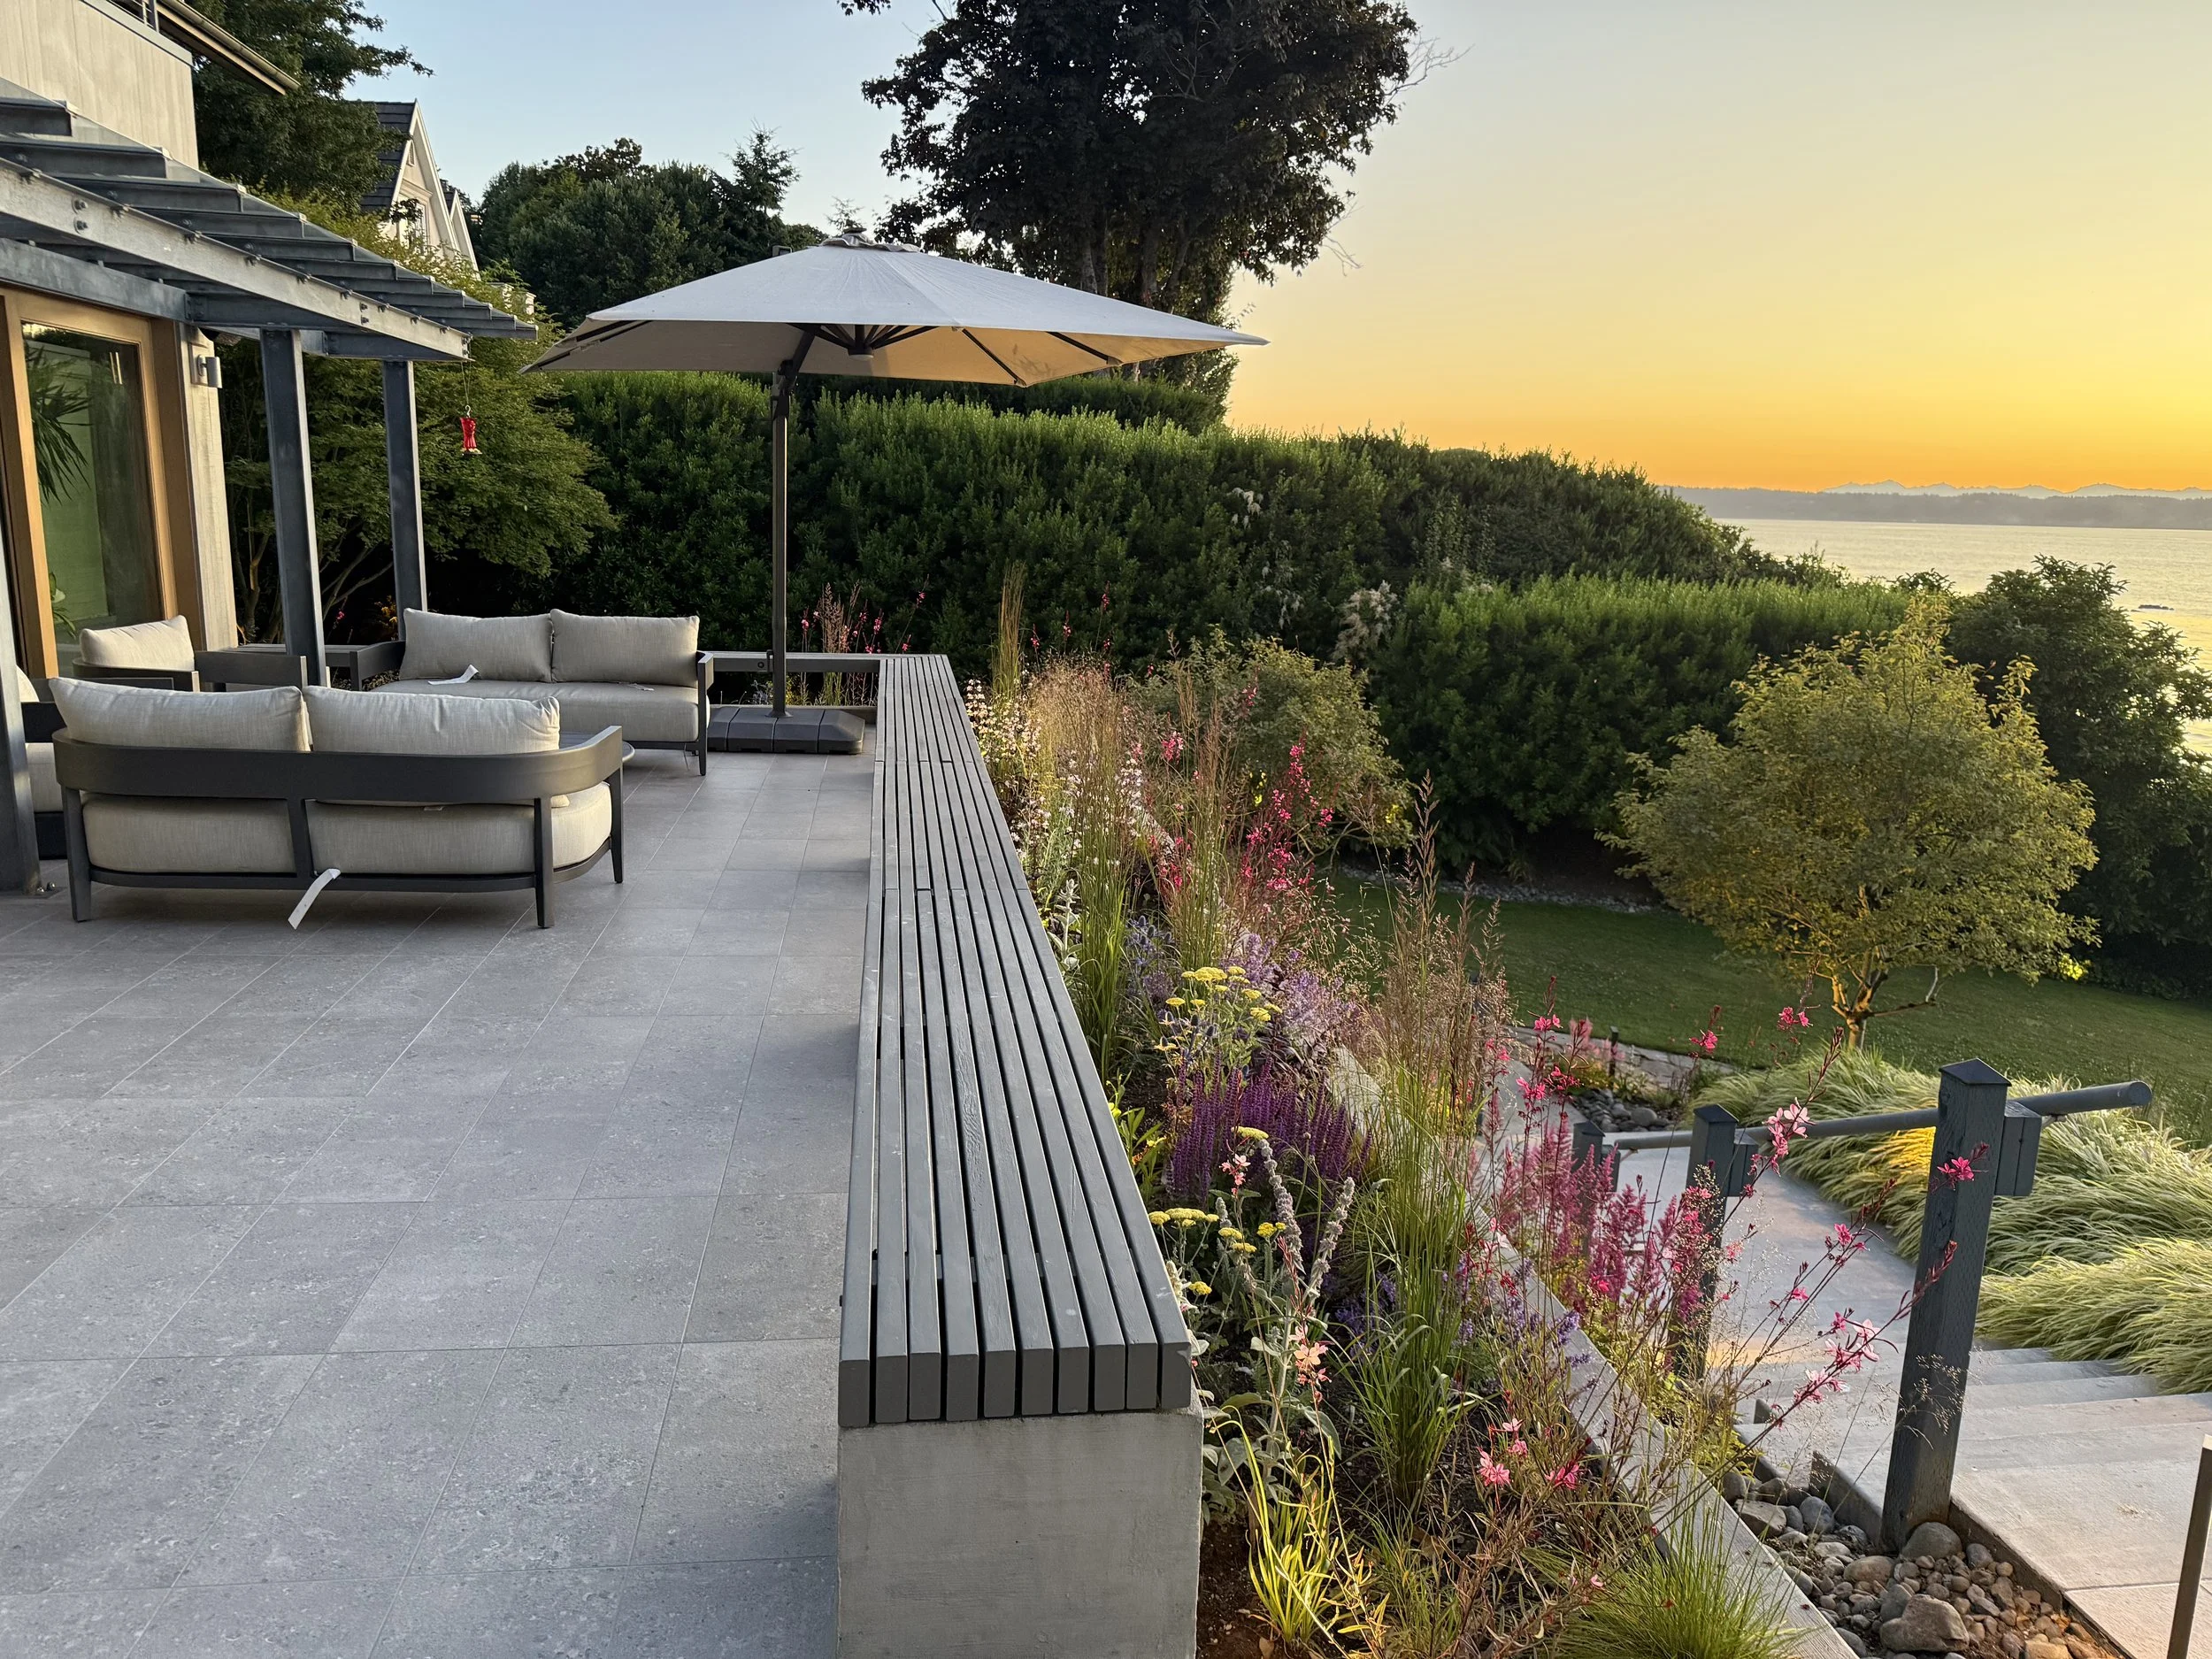
Dollar 5: Hardscape + “Big Ticket” Features (Do This Once You Know What You Want)
This is where the expensive stuff lives:
Hardscape (pavers, concrete, wood decking)
Drainage solutions
Fireplace
Sauna
Hot tub
Outdoor kitchen / grill area
Built-in benches
Storage / sheds
Lighting
And I want you to notice something:
None of those matter if you don’t have privacy.
None of those work if you don’t know where you enjoy sitting.
None of those feel right if you haven’t learned how you move through the yard.
Why hardscape comes later
Hardscape is expensive to redo.
Plants? We can move them.
Perennials and grasses can be:
Dug up
Divided
Repositioned
Once you’ve lived in the garden for a while, you’ll know:
Exactly where you want each garden room
What size it needs to be
Whether you want sun or shade
What features you’ll actually use
At this point, you’ll also be ready to plan:
Electricity
Irrigation
Drainage
Plumbing
✅ Bottom line: Save the big investment for when your layout is proven. Then spend once and love it forever.
Dollar 6: Accessories (The Fun Finishing Layer)
This is where everything becomes “the vibe.”
Accessories are the final polish:
Large planters
Pots + flower boxes
Garden art
Bird feeders
Outdoor furniture
Side tables
Textiles and styling moments
If you do this step too early, you’ll end up with:
Furniture in the wrong spot
A table that never gets used
A “pretty” space that doesn’t feel private or comfortable
If you do it last?
You’ll buy fewer things—and love everything you choose.
✅ Bottom line: Accessories are the cherry on top. Not the foundation.
The Biggest Mistake People Make: Doing It Out of Order
Where people get this wrong is they skip steps.
And when you skip steps, you create expensive problems like:
A patio installed before privacy = you never use it
A lawn in the wrong spot = constant mud, shade issues, or wasted maintenance
Hardscape placed too early = you’re stuck with a layout you don’t love
Plants thrown in without structure = the garden looks messy or sparse
Privacy, circulation, and where you sit matter more than anything.
The “Secret” UK Garden Rule: Study the Light
In the UK, people will spend two years studying their light before making major investments.
And honestly? That’s not crazy.
Because when you take your time:
Your hedge and vines grow
Your plants mature and can be divided to fill more space
Your gravel paths are already laid (and easy to adjust)
You realize what you actually want (before hard decisions are permanent)
You might discover:
Your “lawn dream” should have been synthetic turf
The seating area should be in a totally different spot
You want a bigger dining zone and a smaller lounge space
You need lighting and outlets more than you thought
And if you planned smart, you can add:
Sleeves for lighting
Plumbing runs
Drainage routes
…without tearing everything apart.
Steward Your Investment, And Your Garden Will Pay You Back
The best gardens aren’t rushed.
They’re stewarded.
When you invest in the right order, you don’t just build a beautiful space—you build one that works for your life, your property, your budget, and your future.
Start with privacy.
Then build circulation.
Then decide on lawn.
Then plant in layers.
Then add the big-ticket features.
Then finish with accessories.
That’s how you avoid regret—and end up with a garden you’ll love more every year.