The Garden Sandwich: 4 Steps to a Designer Garden Bed (No Digging Required!)
Are you staring at a patch of grass or a tired corner of your yard and wondering how to start? Most people think they need to rent a heavy tiller or spend days digging out sod.
I have a better way.
I call it the "Sandwich Method." It’s a professional-grade, no-dig technique that builds incredible soil health while giving you that crisp, modern aesthetic seen in high-end landscape magazines. Best of all? It’s the perfect "cradle" for our Starter Plant Package.
Here is how to build your own "Garden Sandwich" this weekend.
The Ingredients
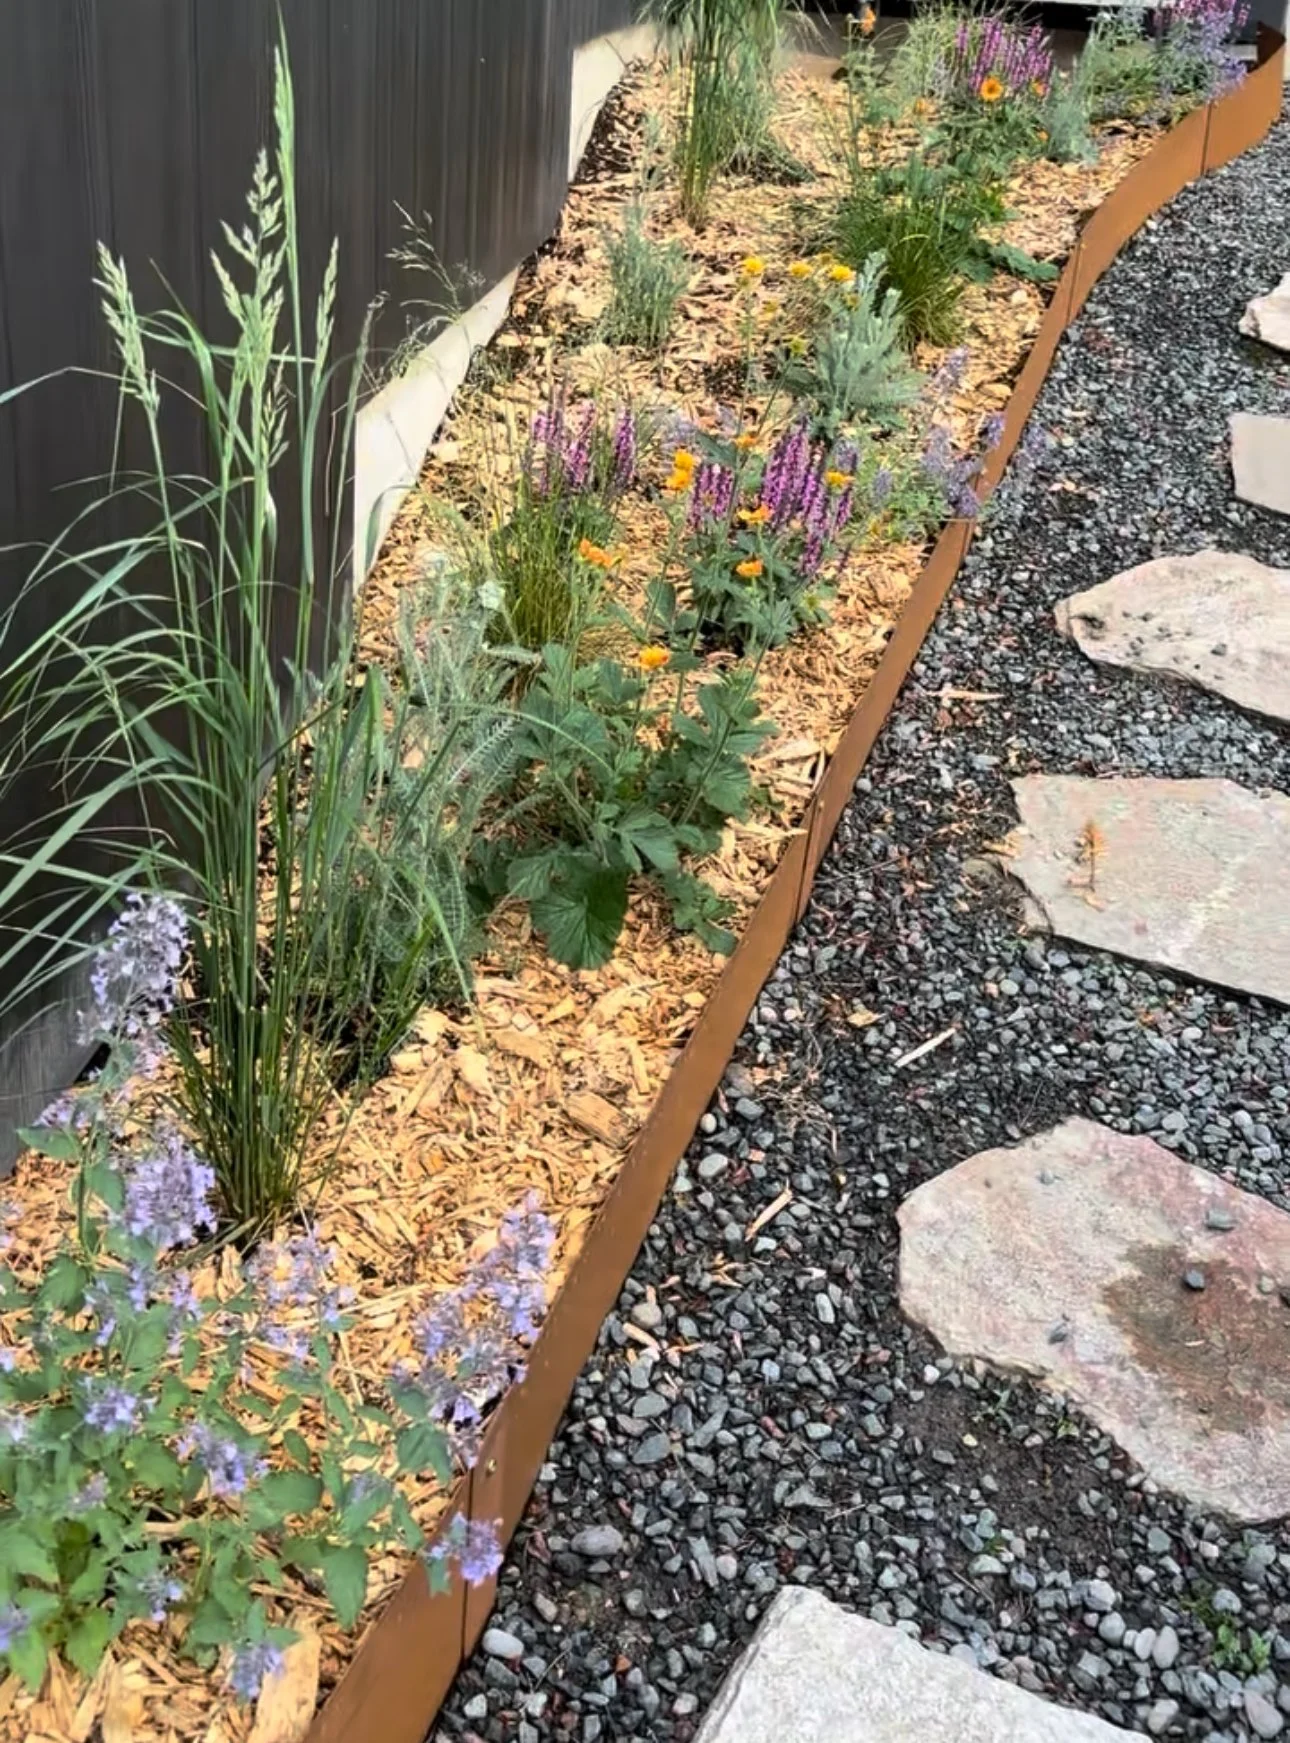
Corten Steel Edging (The "Bread" - provides the structure)
Erosion Control Blanket (The "Barrier" - smothers weeds naturally)
Quality Topsoil/Compost Mix (The "Filling" - where the magic happens)
Arborist Wood Chips (The "Topping" - free via ChipDrop)
The Starter Plant Package (The "Star of the Show")
Step 1: Define Your Shape with Corten Steel
Skip the plastic edging. Corten steel (weathering steel) arrives a dark grey and develops a beautiful, organic rust patina over a few weeks. It’s flexible enough to create modern curves or sharp, clean lines.
Pro Tip: Look for heavy-duty 6-inch tall edging on Amazon. Stake it directly into your existing lawn or soil to create the "walls" of your new bed.
Step 2: Lay the Weed Barrier
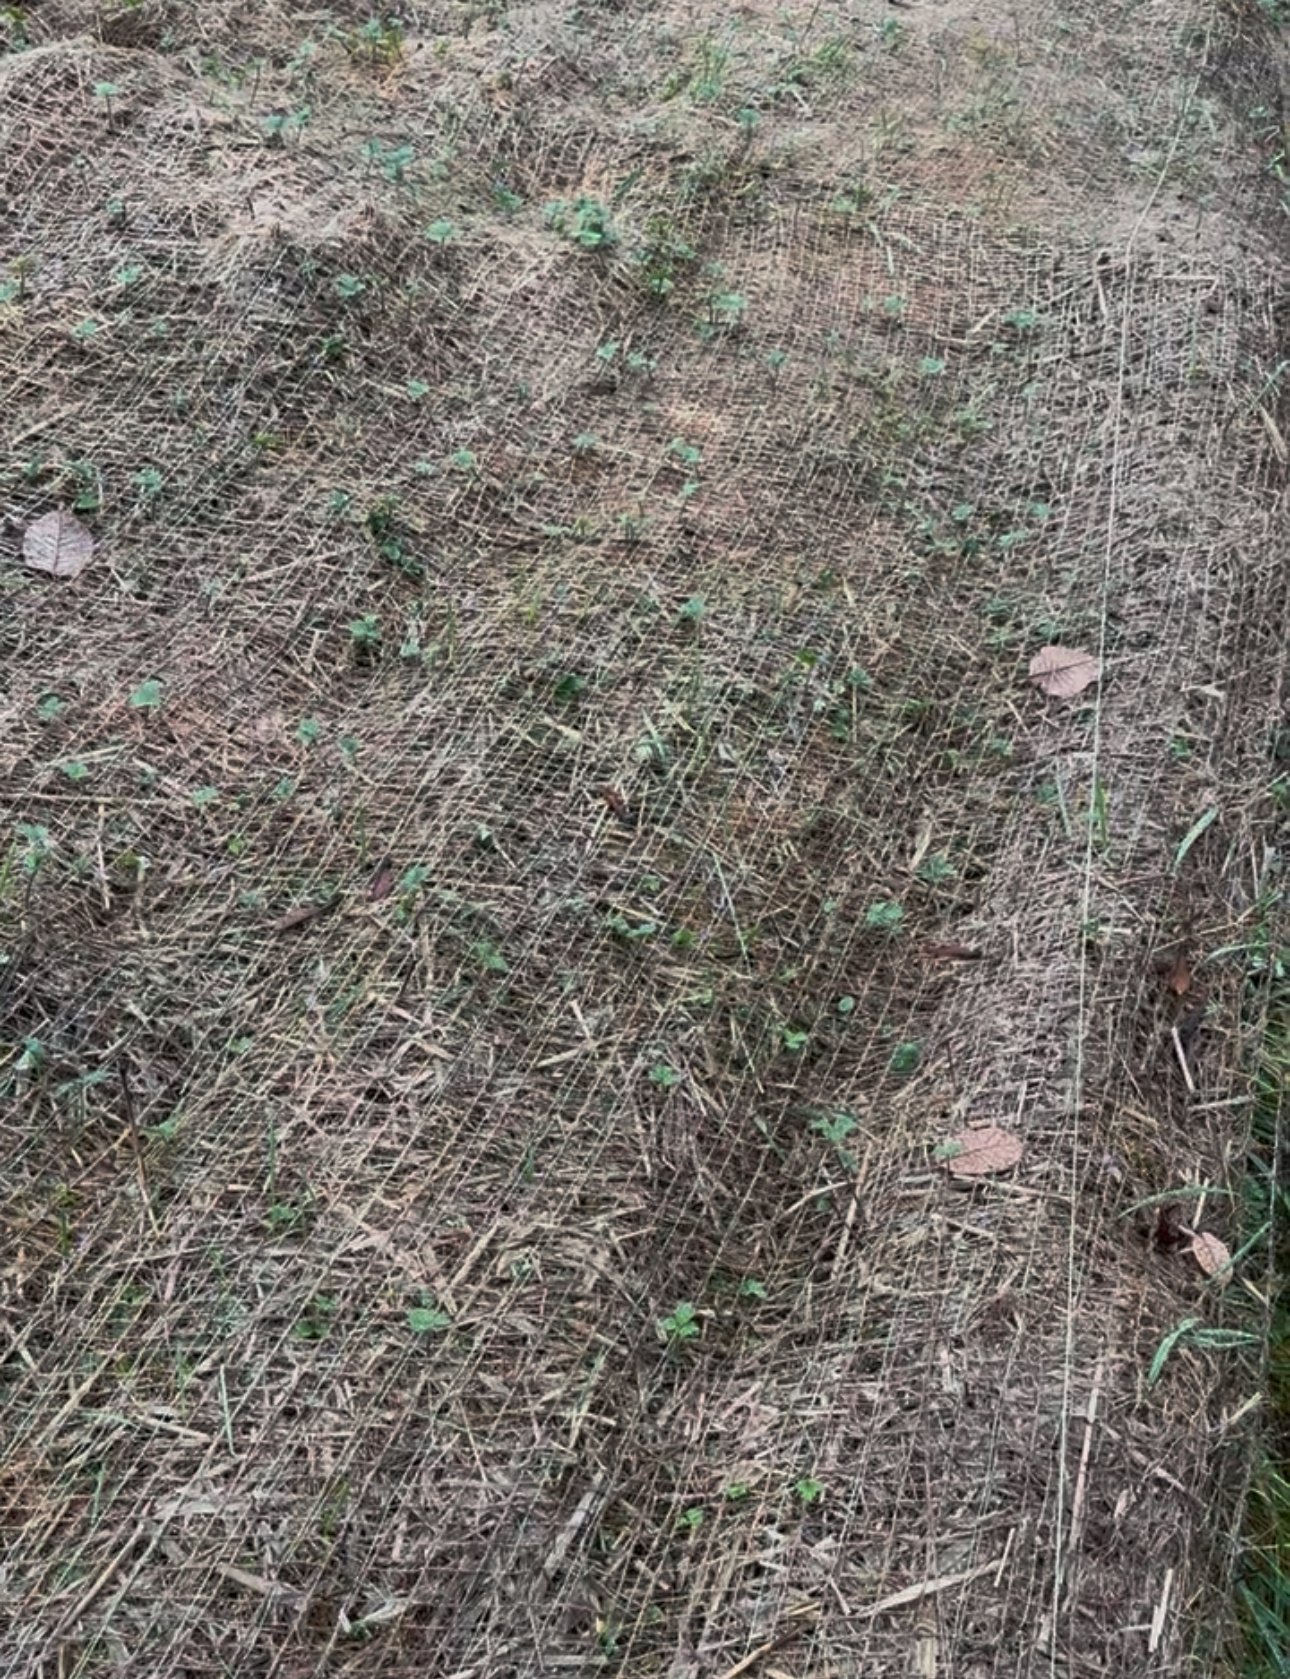
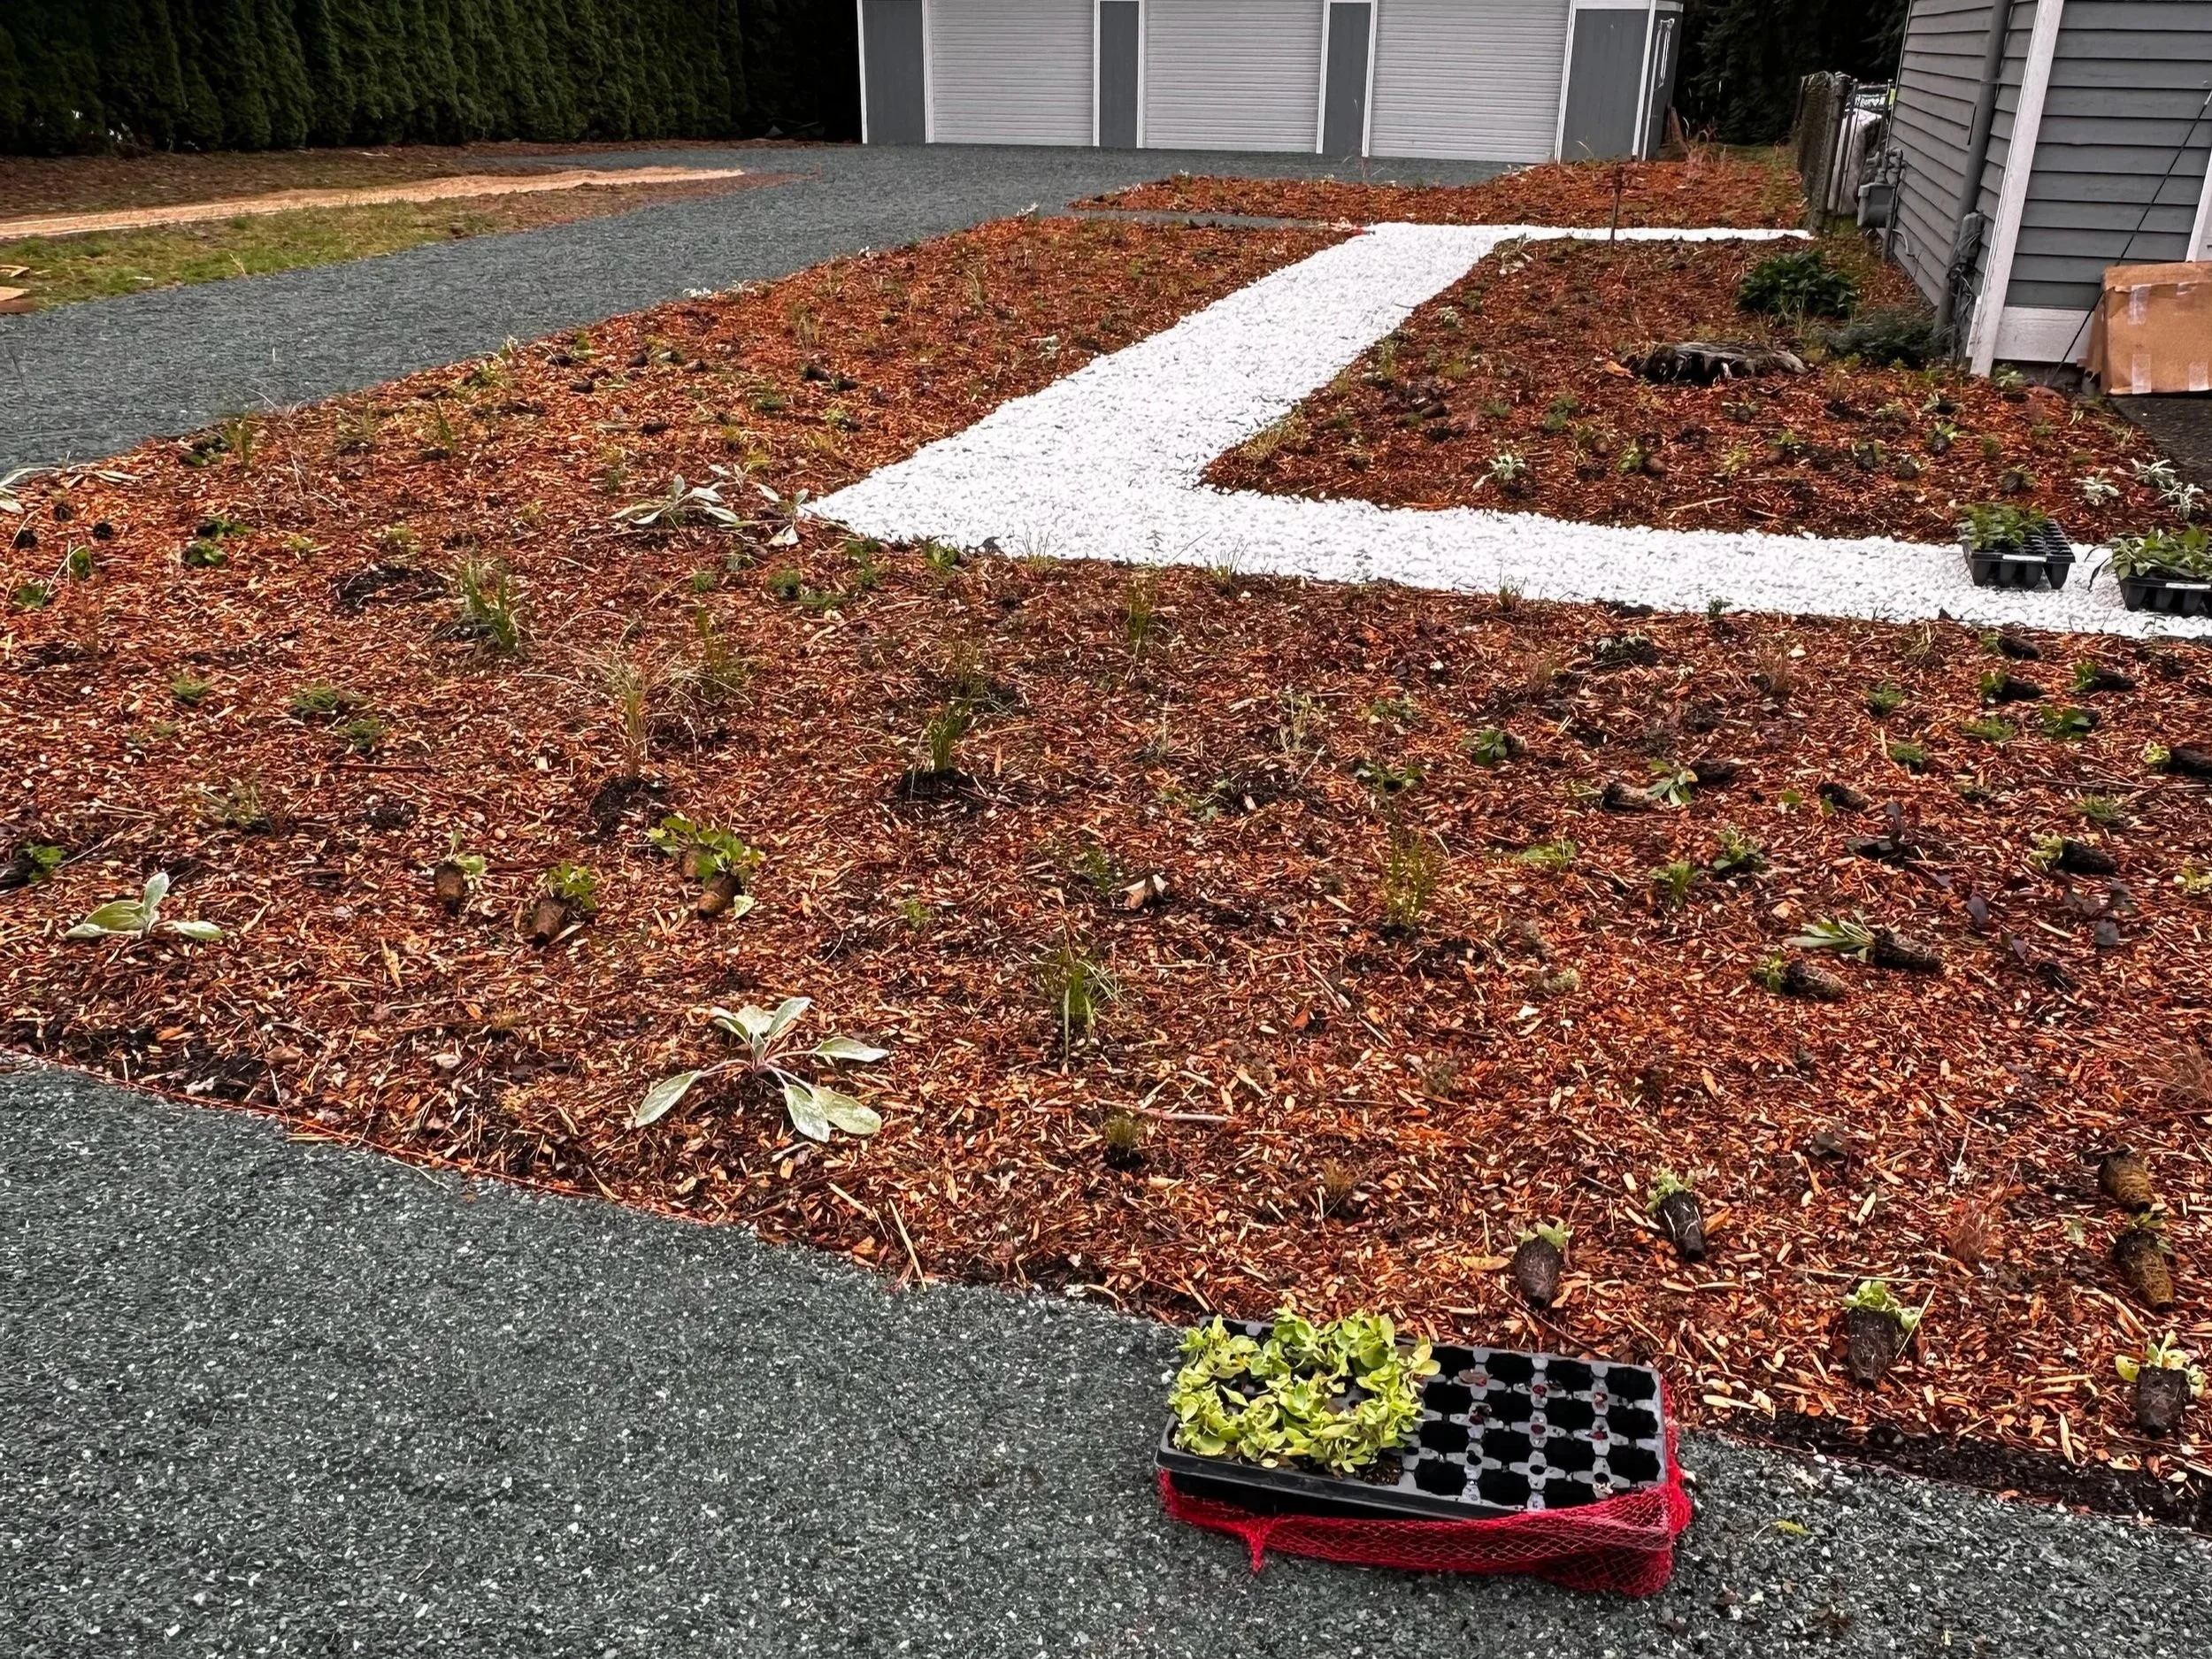
Instead of toxic plastic weed fabric, use a natural Erosion Control Blanket (jute or coir). Lay this directly over the grass inside your steel frame. This acts as a heavy-duty "smother" layer that will eventually decompose into rich organic matter, but in the short term, it stops grass and weeds from poking through. You can also use cardboard, straw or coconut coir, or chip drop. Just cover it heavily.
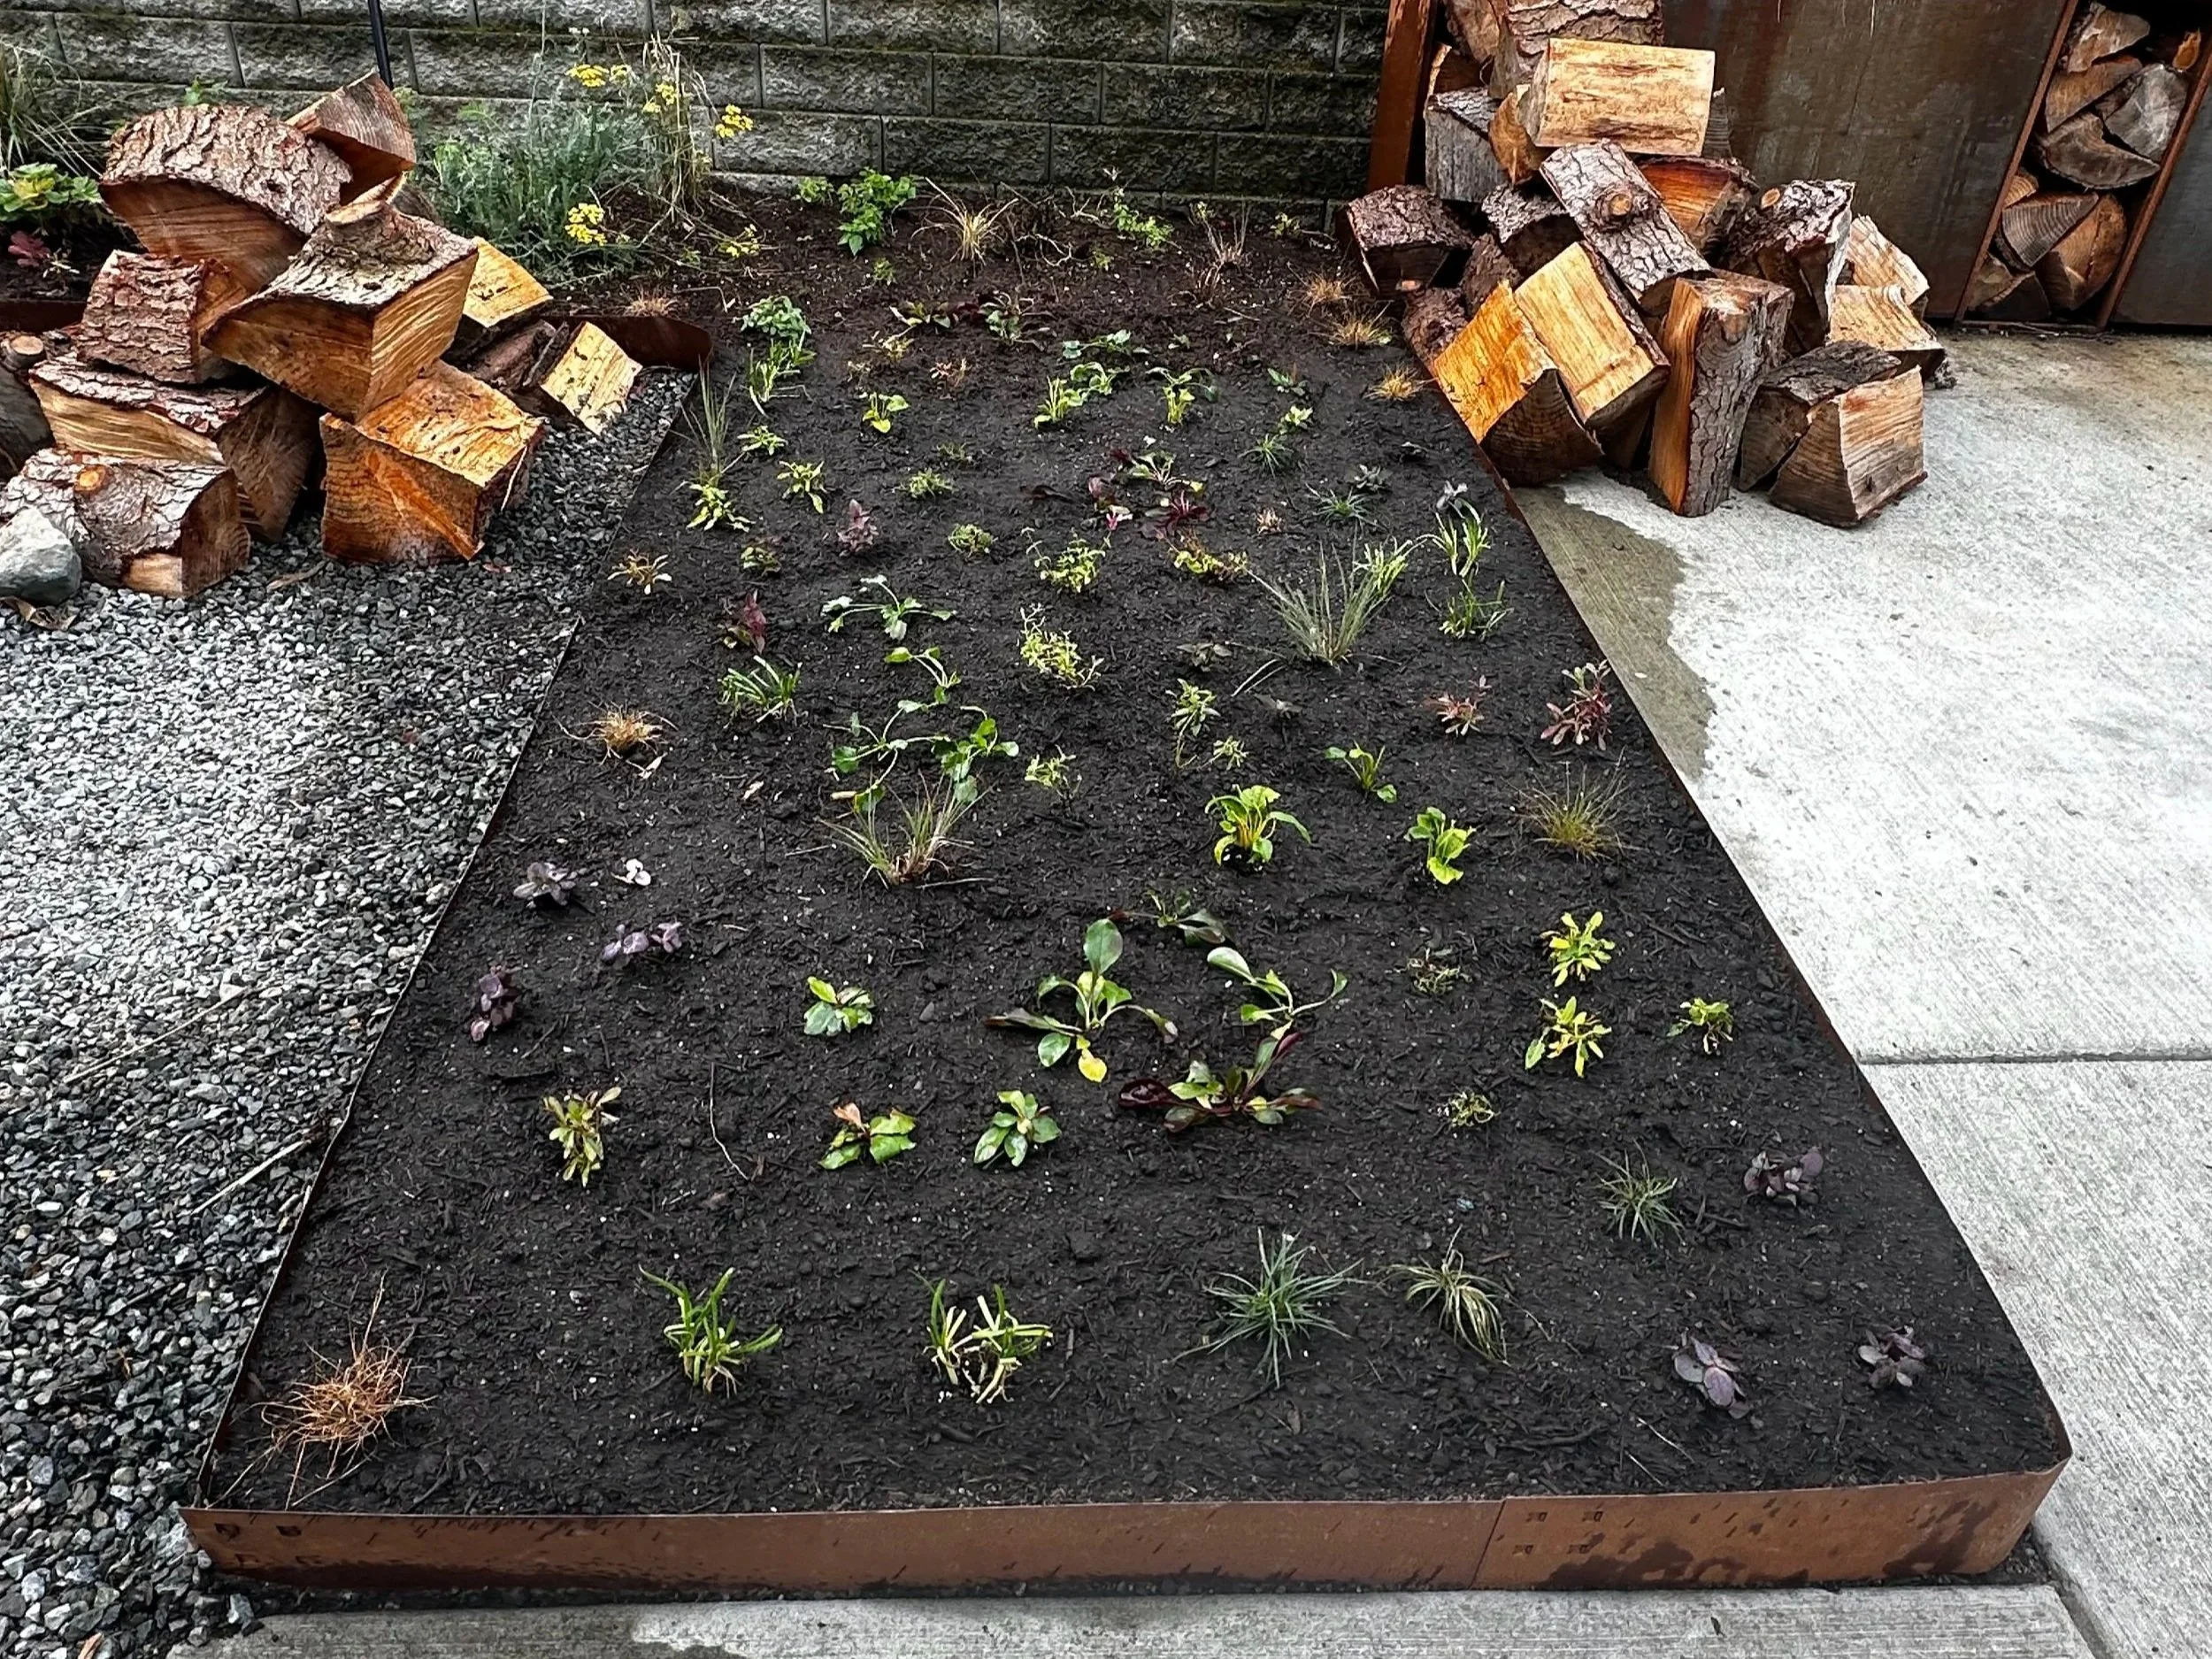
Step 3: Fill with the Good Stuff
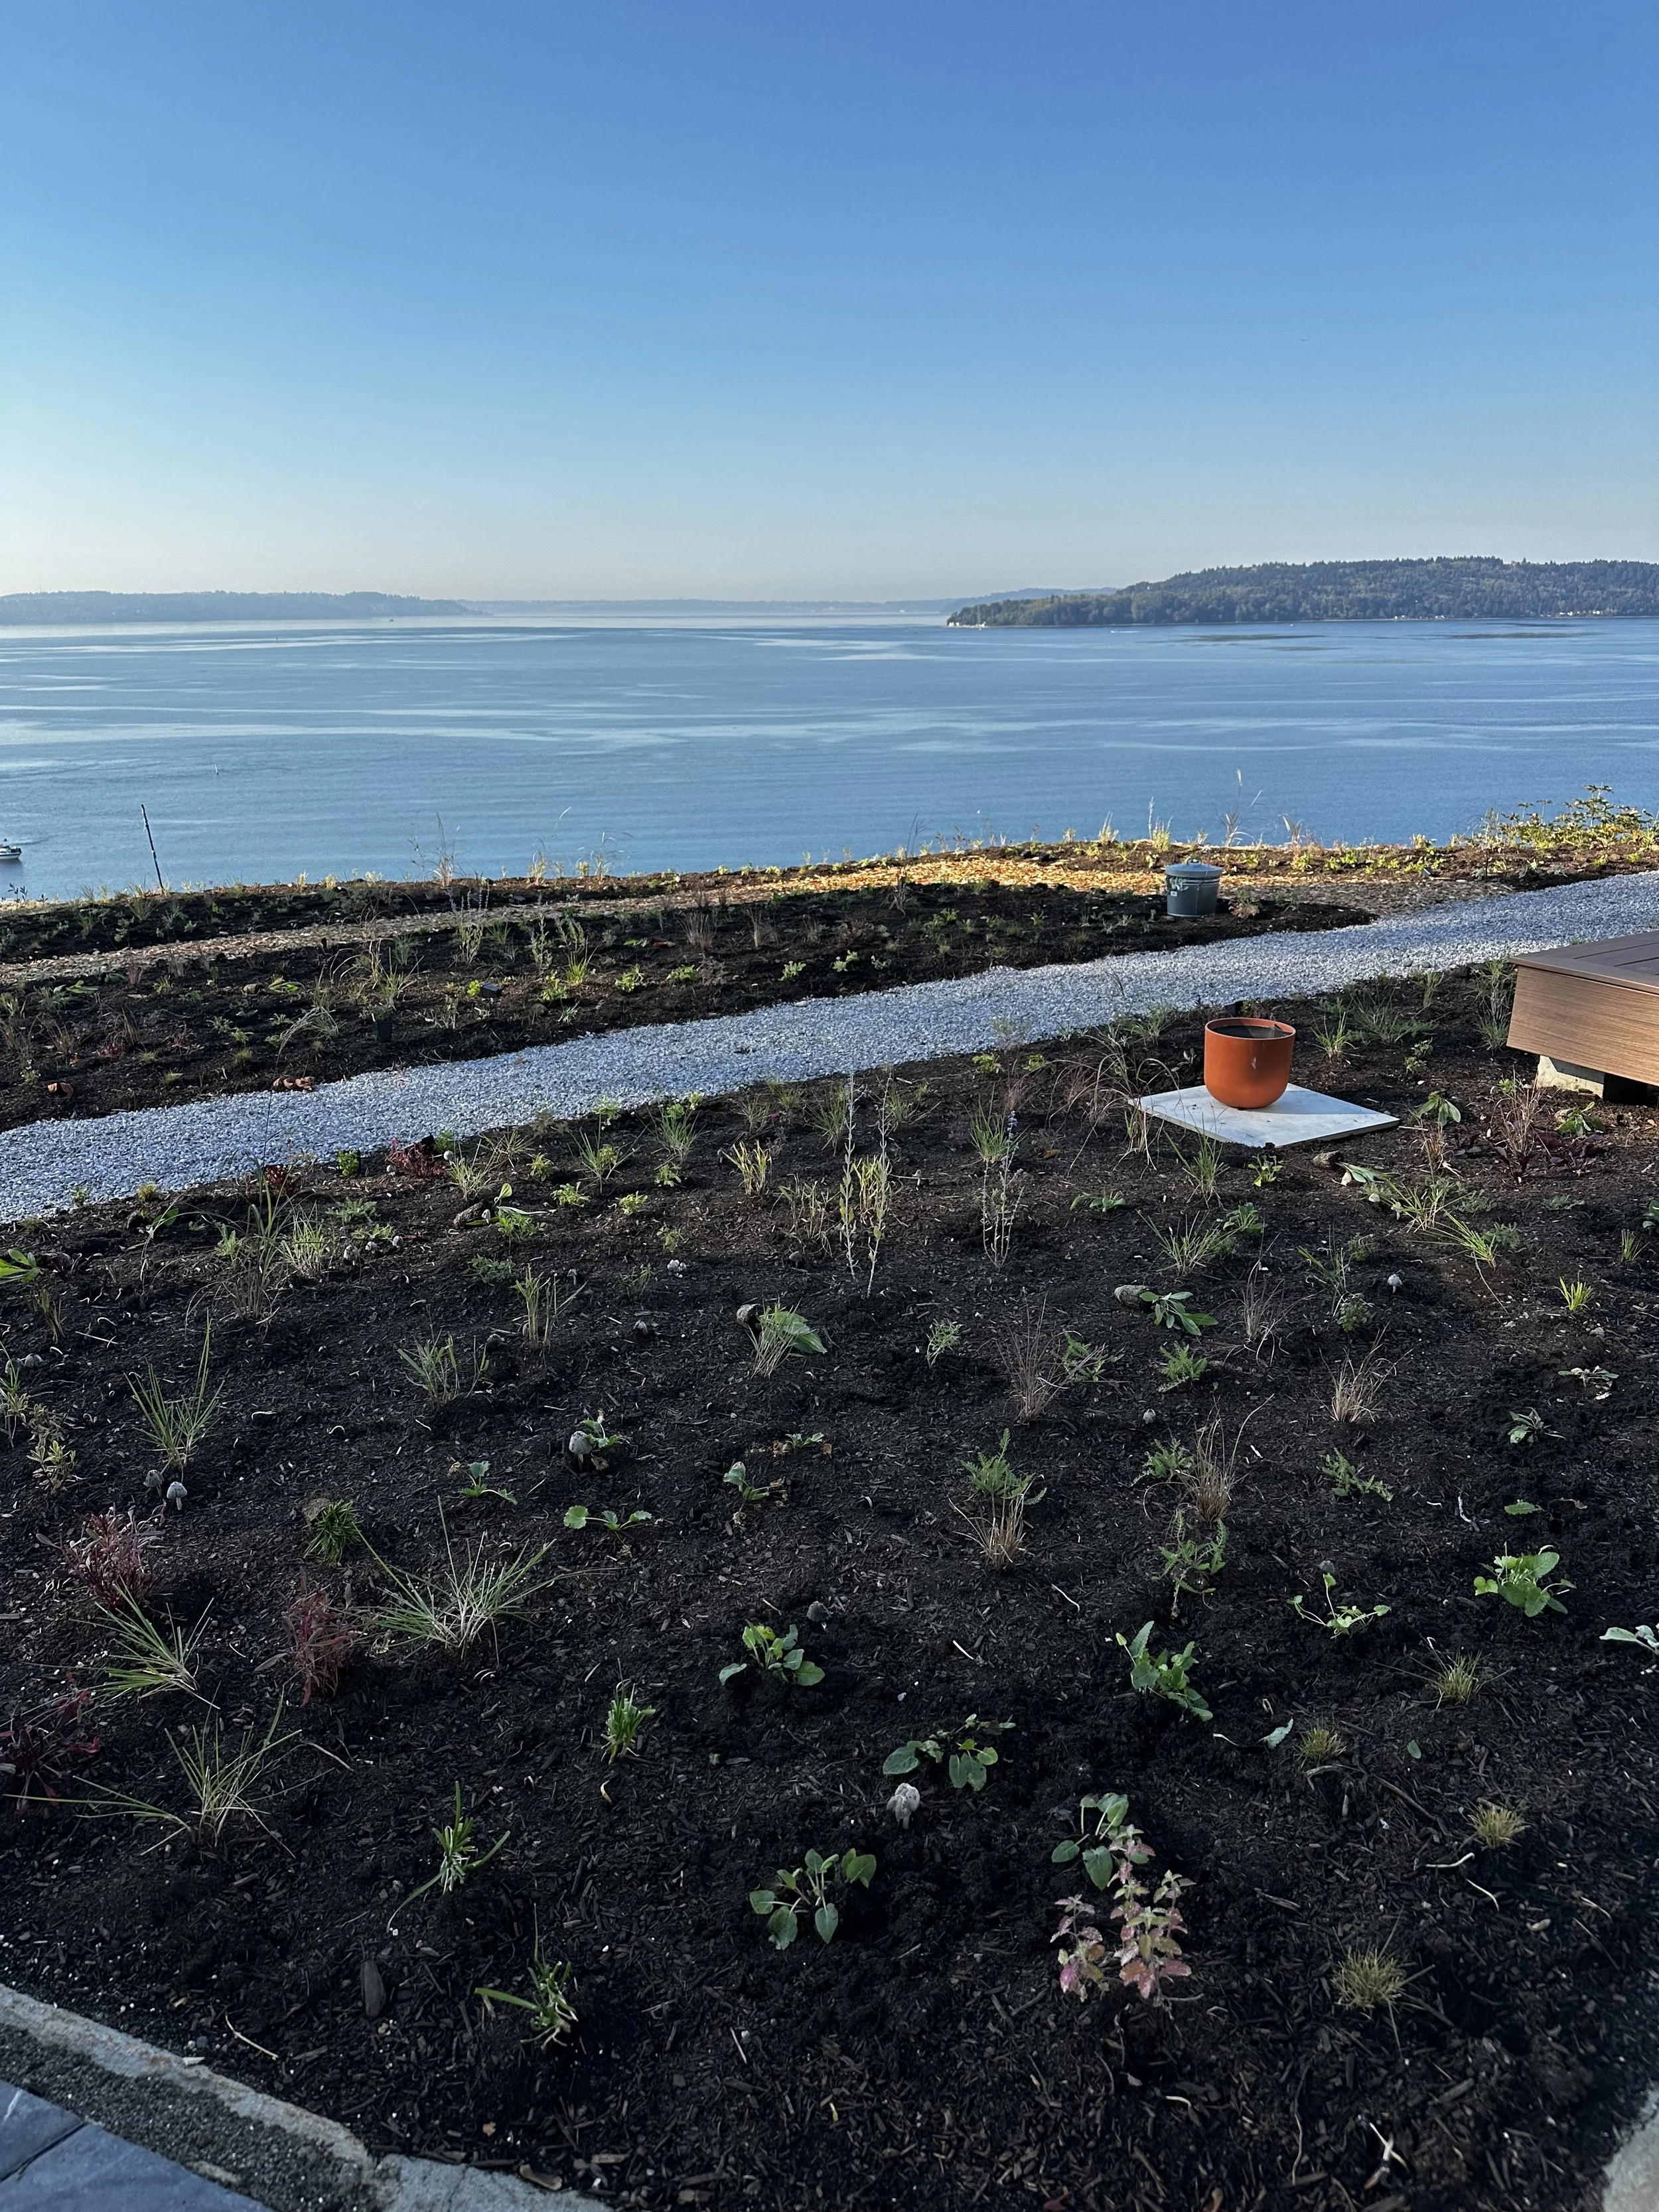
Fill your new steel-edged "container" with high-quality garden soil or a 50/50 compost blend right to the top of the edging. You need enough dirt to slot in your gallon size plants - so make sure to compact the soil down so it doesn’t sink. If you are using 4 inches or plugs, you will be fine, but no one likes the sunken garden bed look- fill the dirt to the brim of your Corten steel and walk all over it and keep filling until it’s compacted at the very top of the edging.
The Finish: Top dress the entire bed with Arborist Chips. You can get these for free by signing up for ChipDrop. These chips keep moisture in the soil and provide the perfect "Pacific Northwest forest floor" environment for your new plants.
Step 4: Plant Your Starter Package in "Groups"
Now for the best part! Because you've built such a rich, deep bed, your plants will thrive immediately.
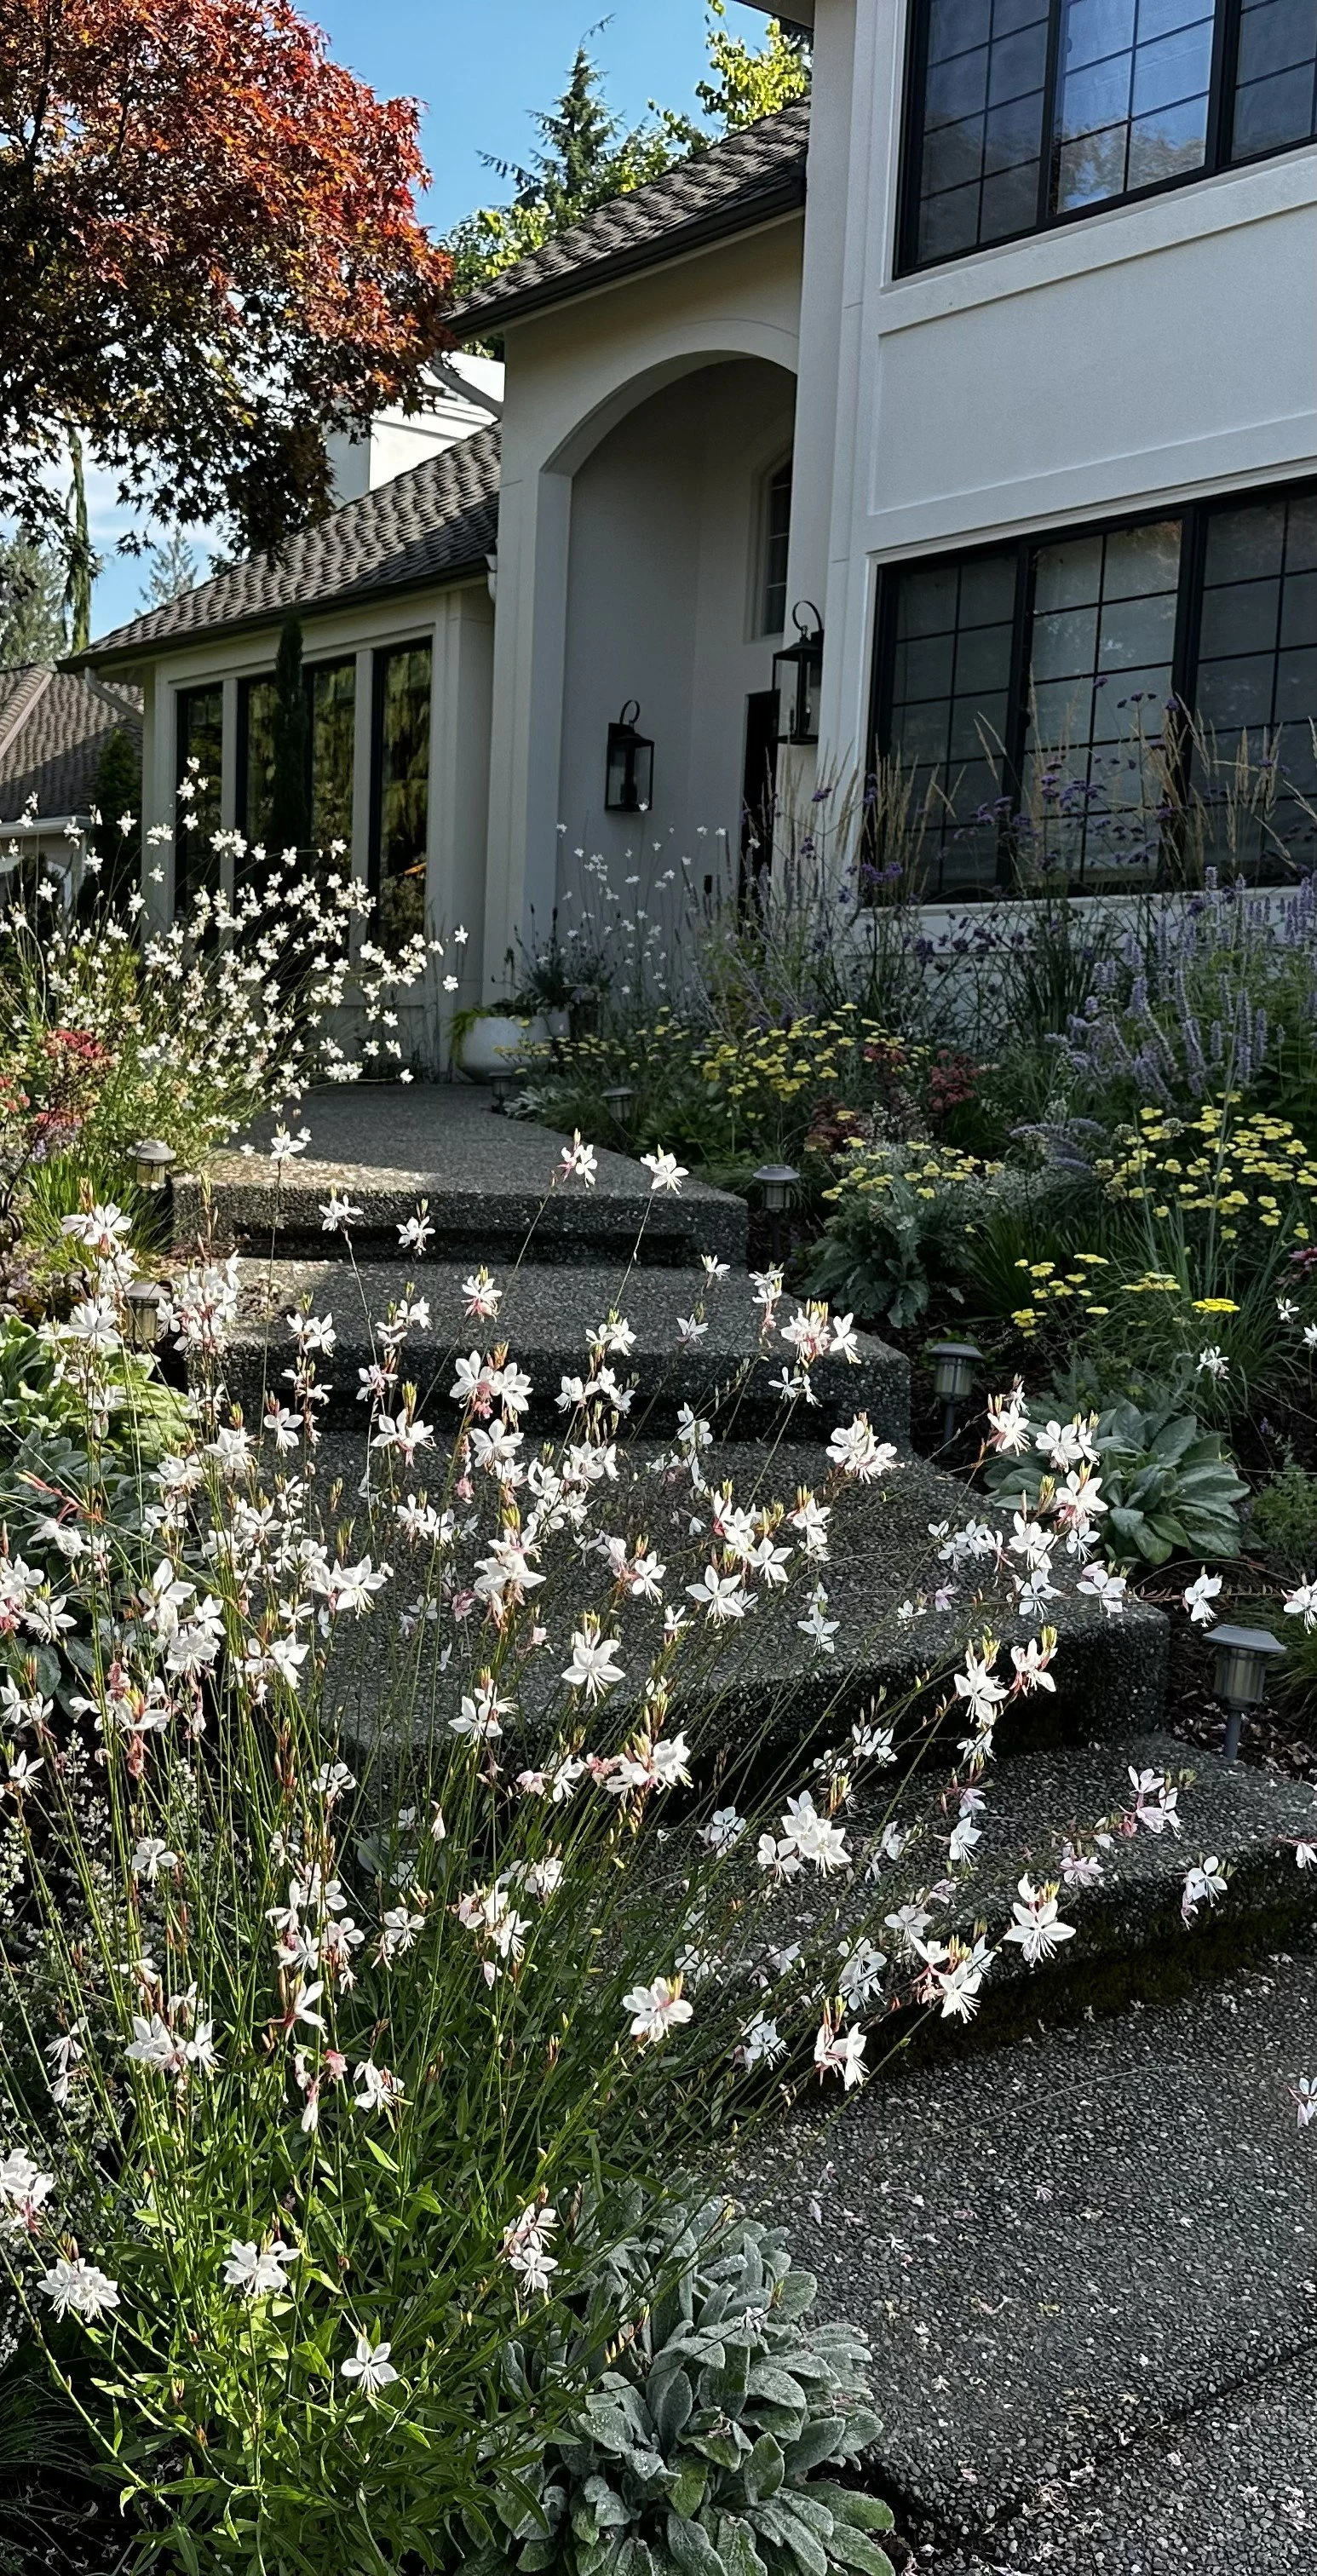
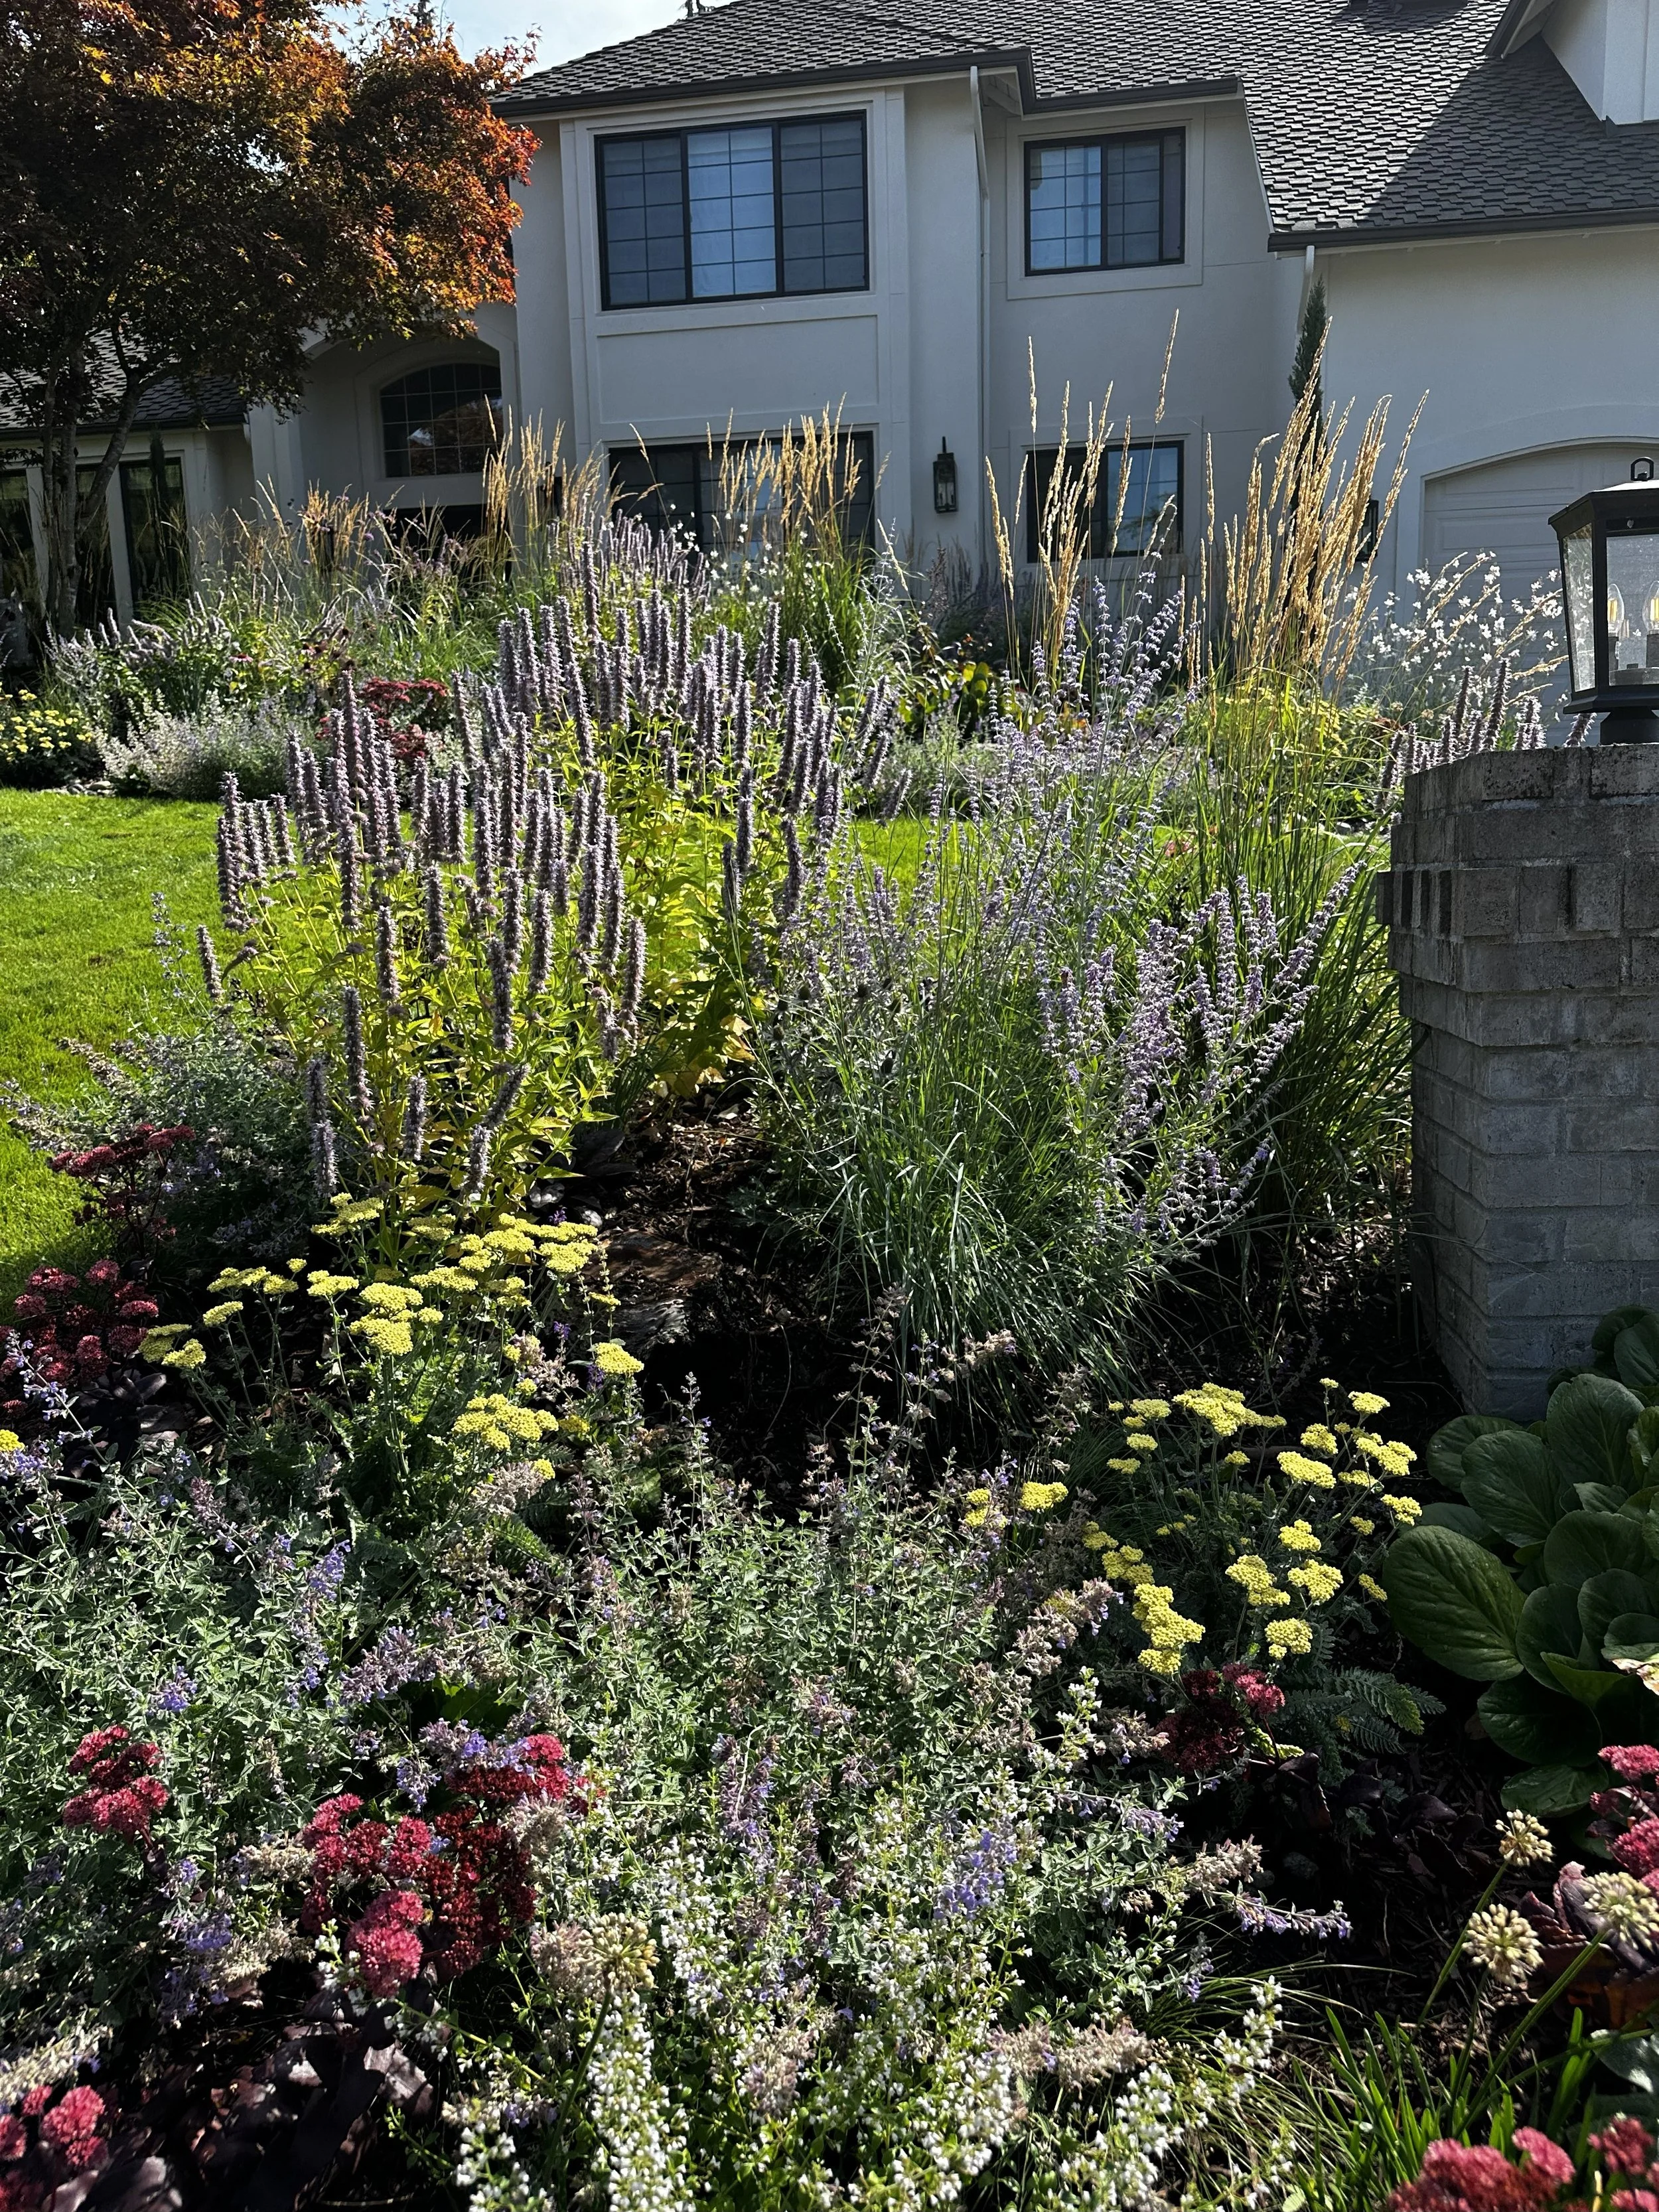
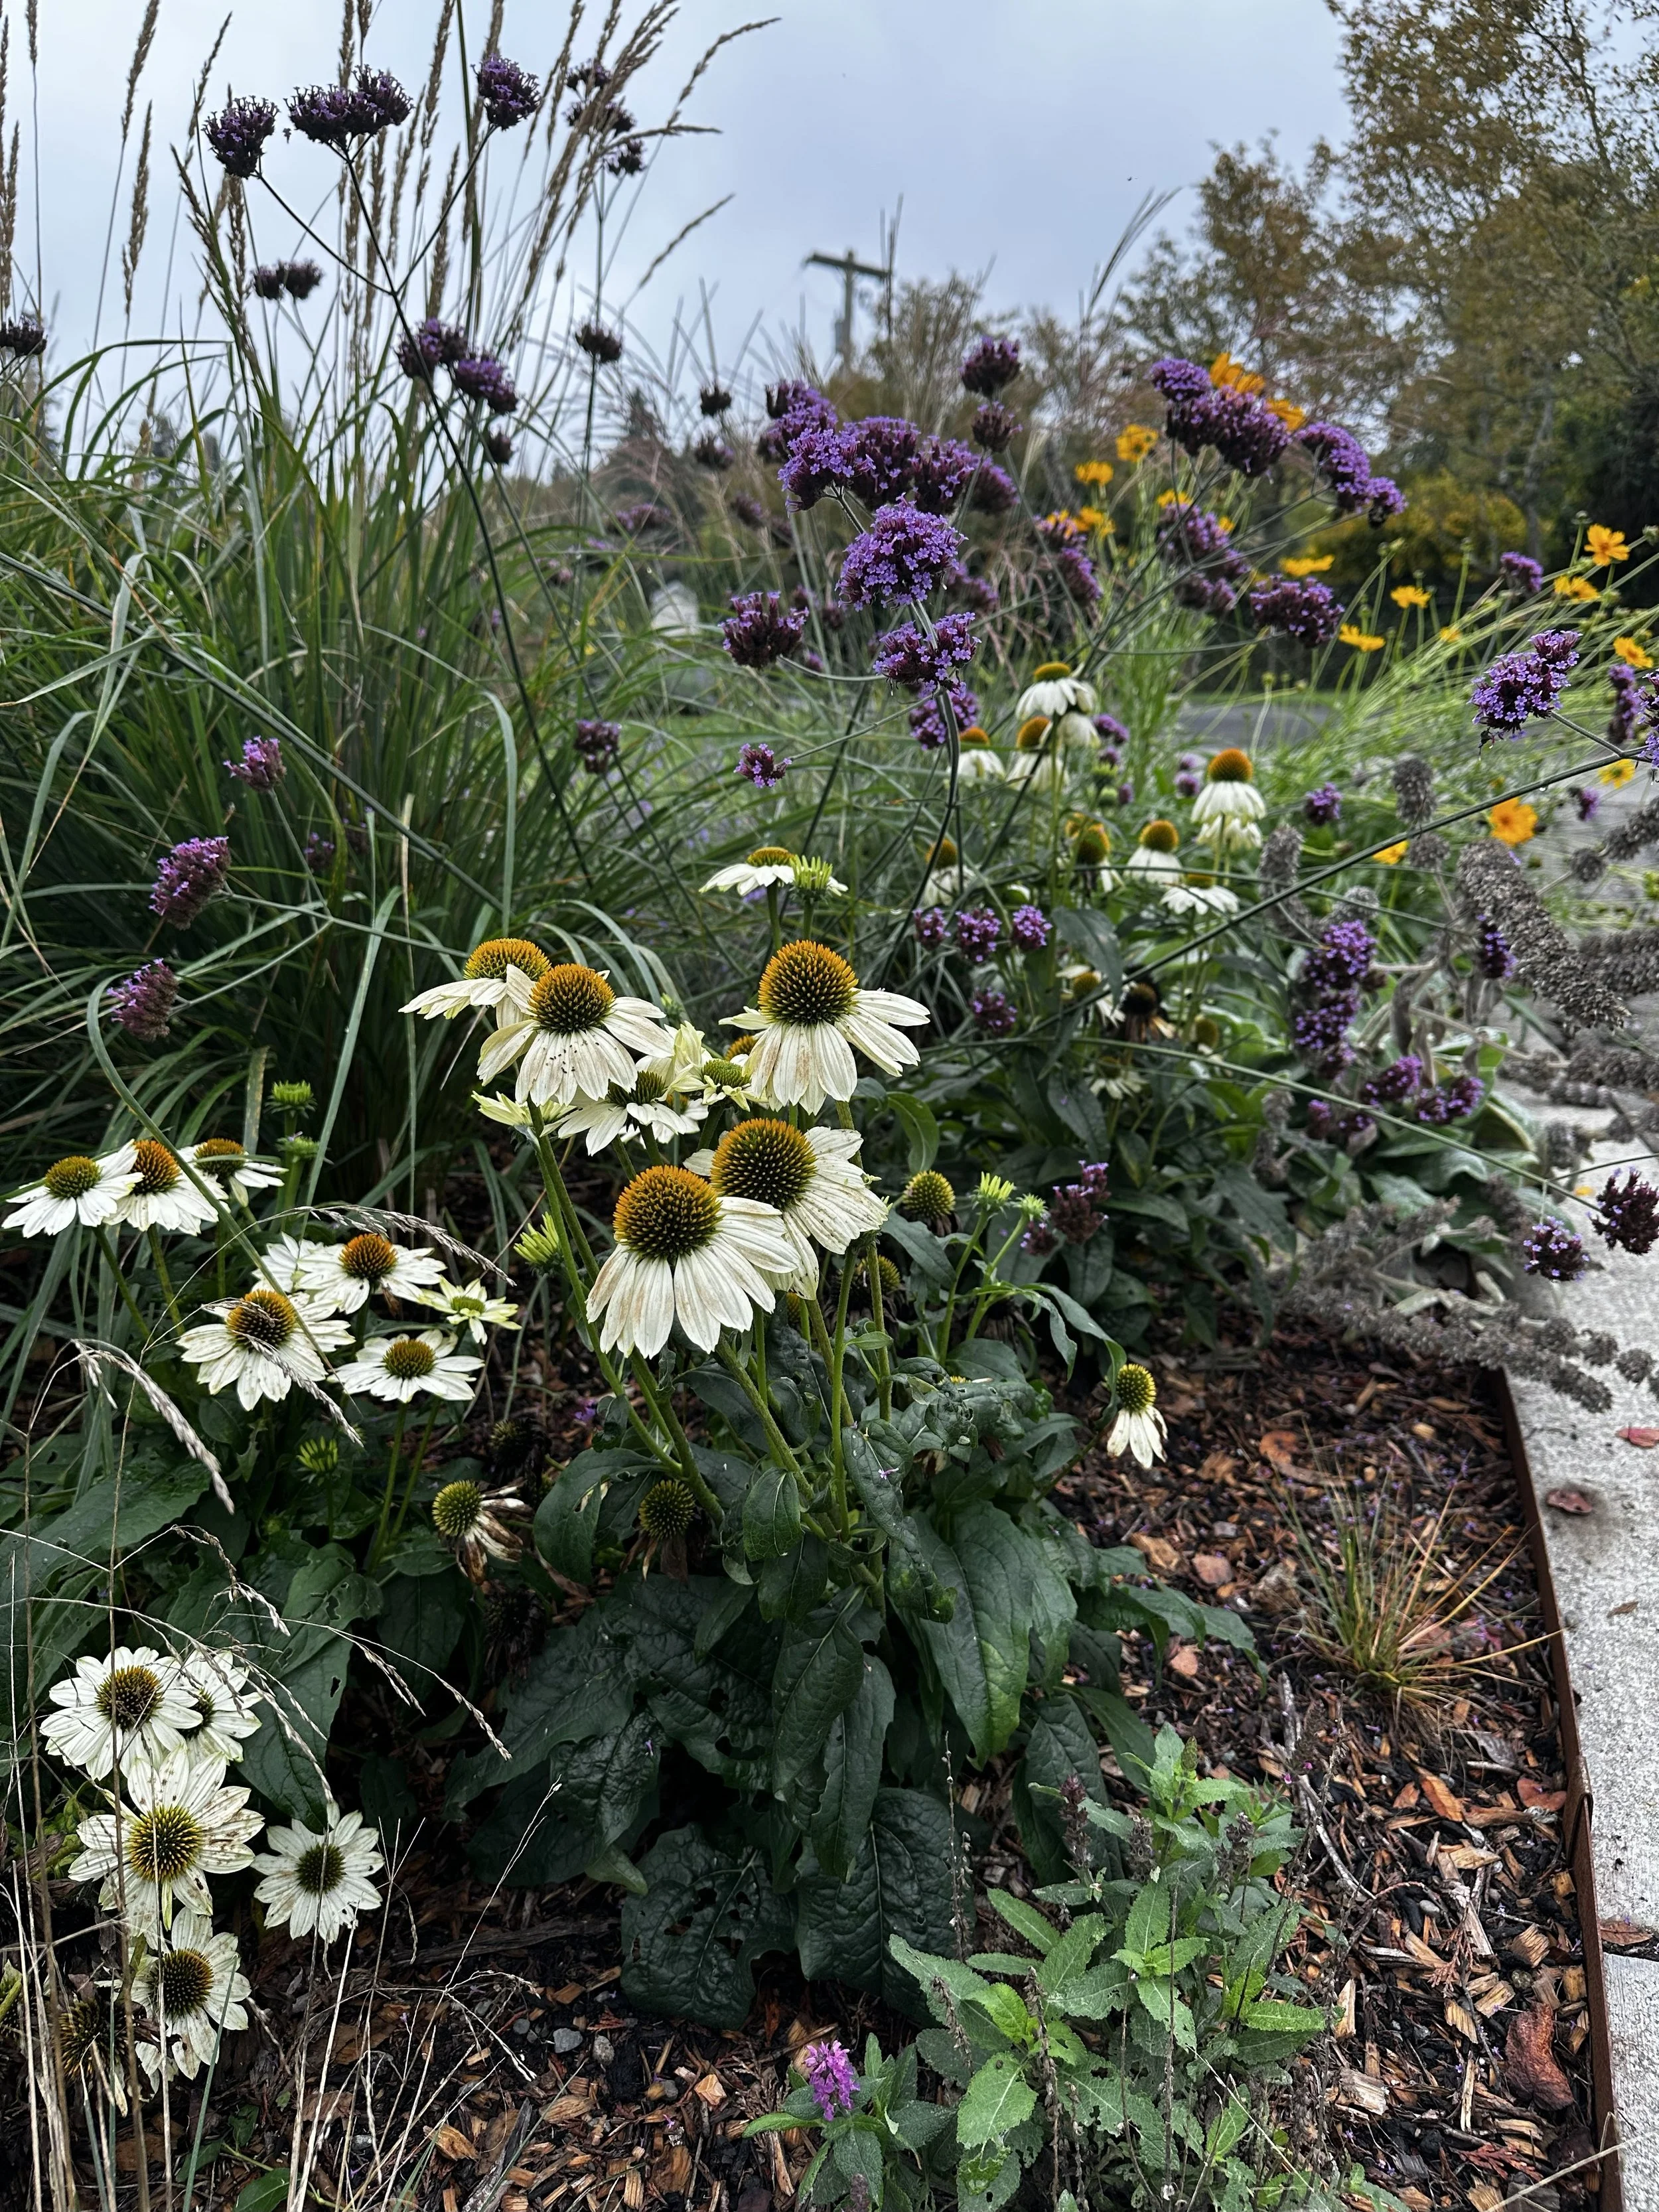
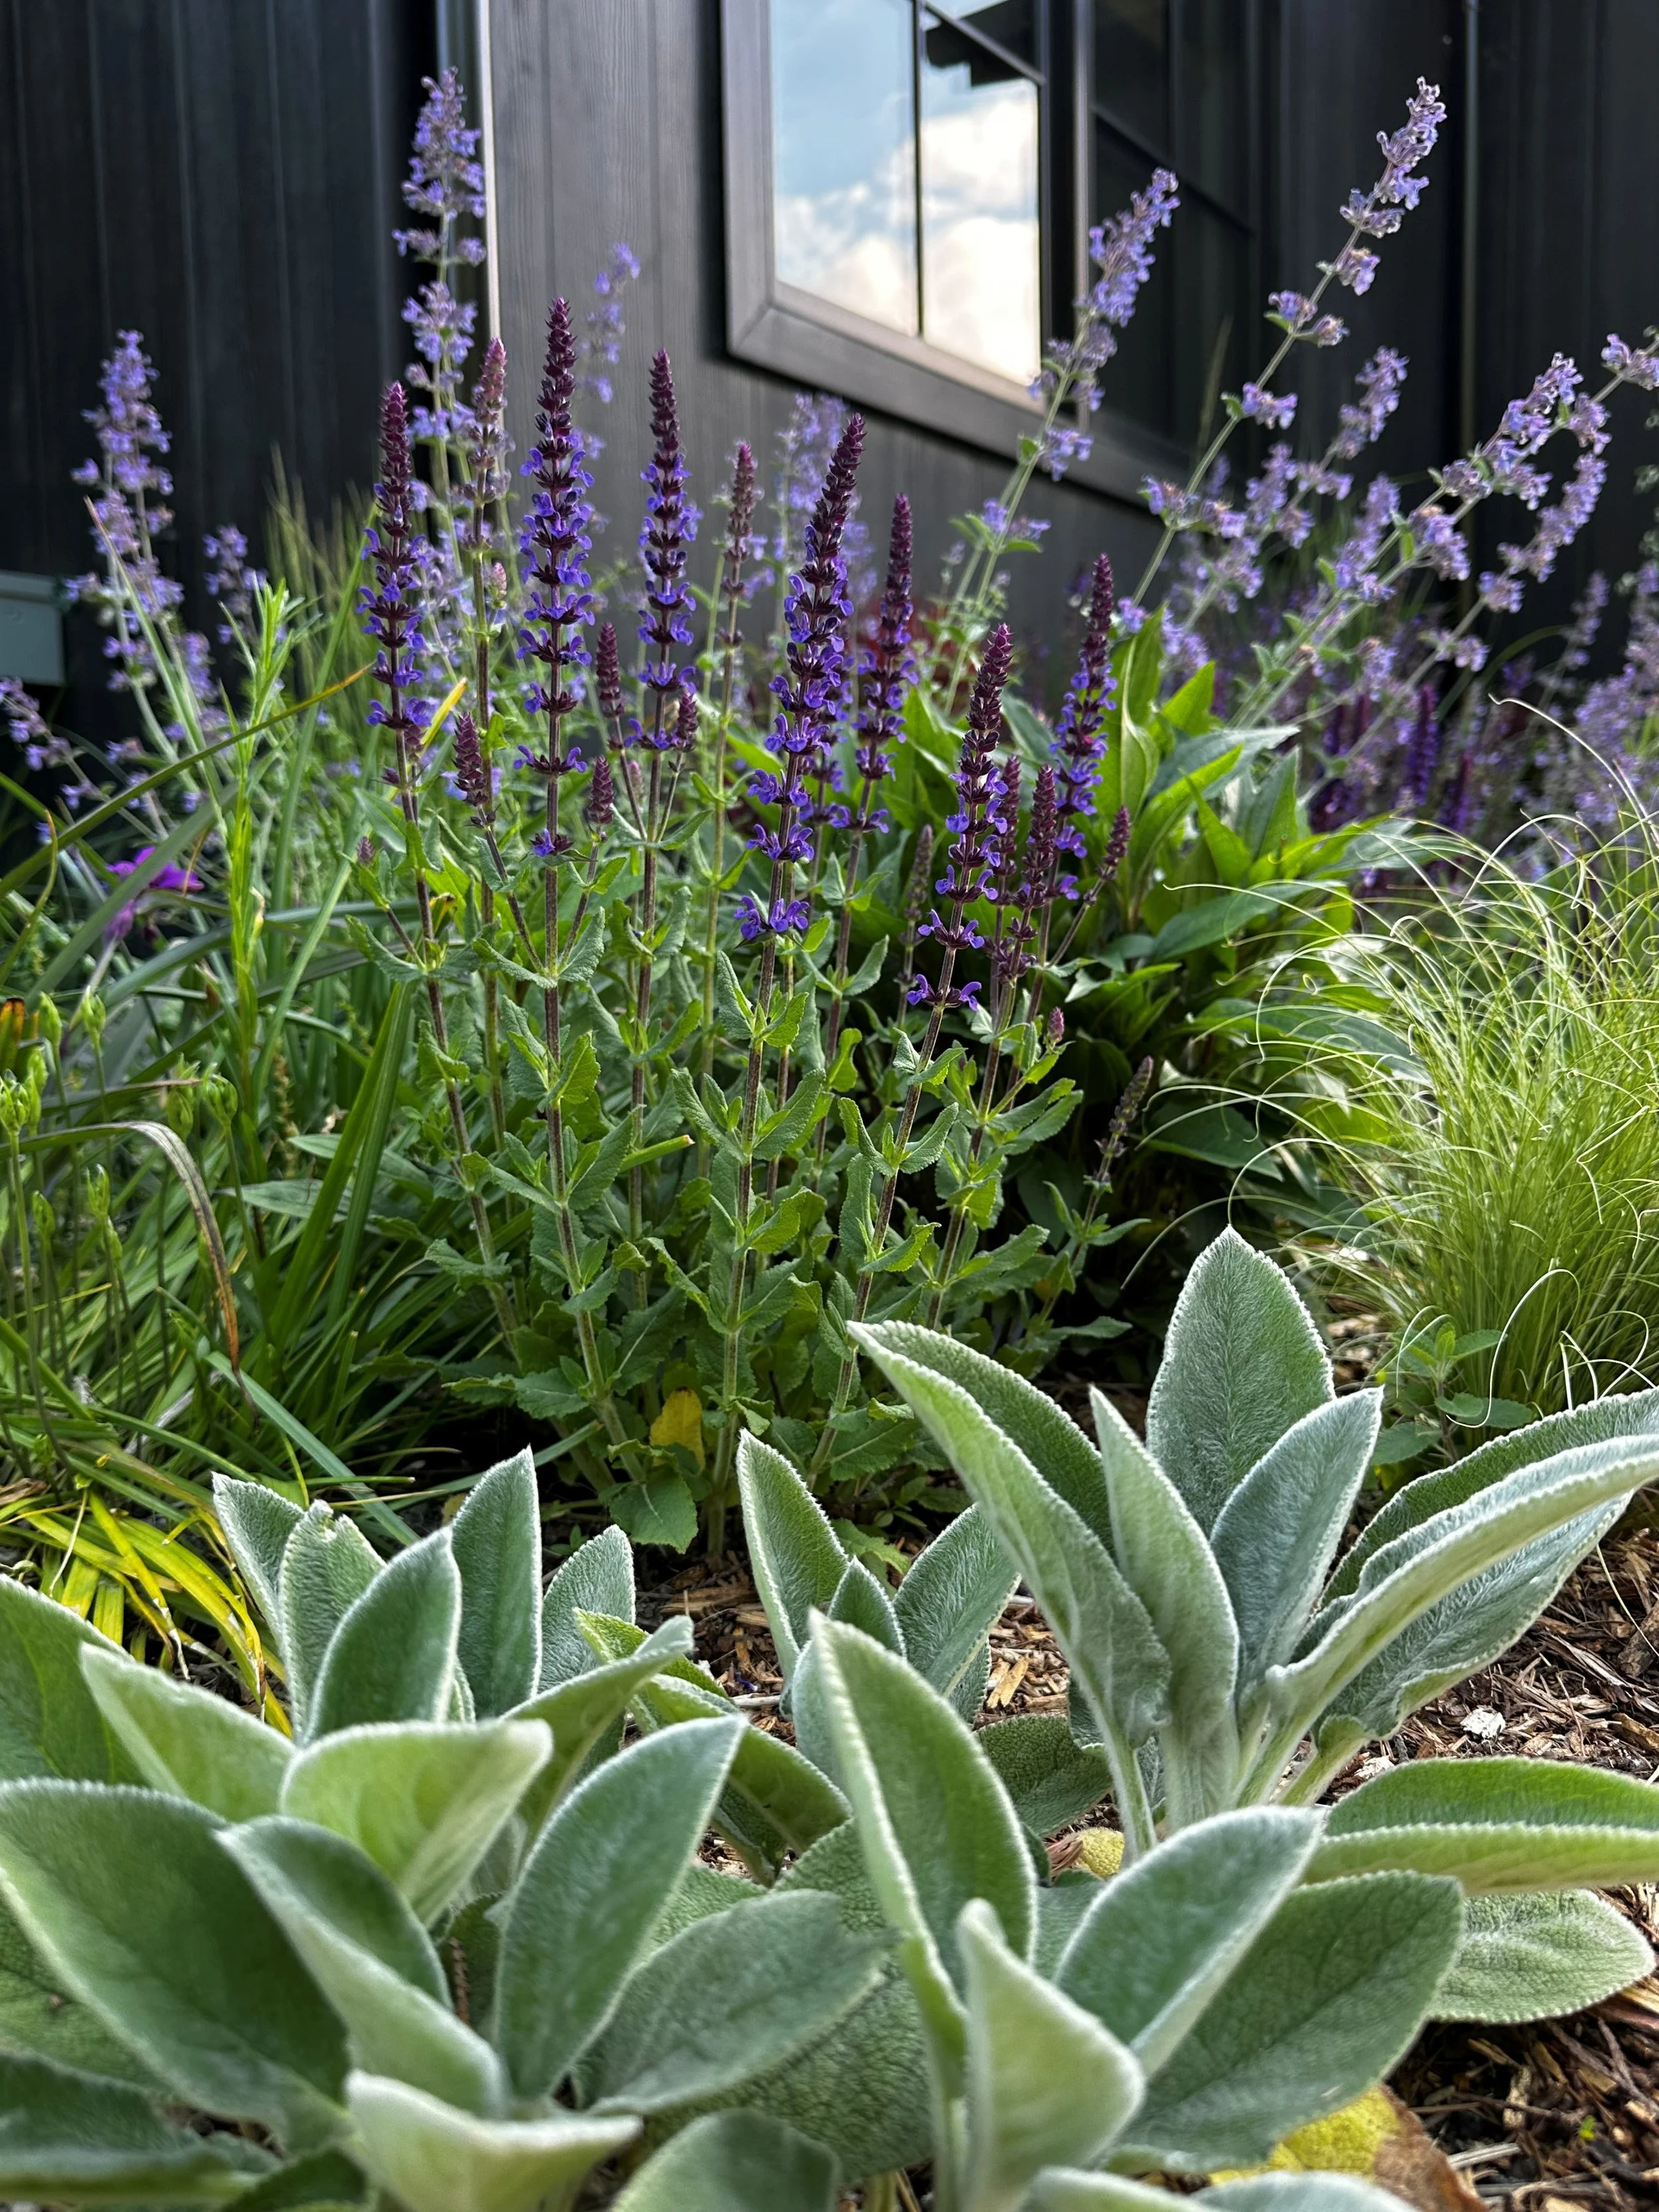
When you get your Starter Plant Package, don't spread them out one by one. Plant them in groupings of 3 or 5. * The Look: Group your Salvia ‘Caradonna’ together for a punch of purple, and surround them with a "cloud" of Deschampsia grass.
The Benefit: Grouping creates instant "visual weight" so your garden looks professionally designed from day one.
Ready to get growing?
Building the bed is the hard part—let me handle the plant selection for you. My Starter Plant Package is specifically curated for the Seattle & Eastside climate. It includes 100 garden-ready plants (Grasses, Spring Perennials, Summer Blooms, and Fall Interest) that are designed to work perfectly with this Sandwich Method.
👉 Order Your Starter Plant Package Here
I'll deliver them right to your door, ready to be "sandwiched" into your new beautiful garden!